Wow, Been way too long since I posted, but in that time a bunch of folks I know have been brewing cider and it got me all fired up. So I decided to make some ‘Graff’ tonight.
My understanding is that ‘Graff’ is kind of a ‘cider/beer’. It’s got a bit of malt, a bit of hops, and a bunch of apple cider. Sounds damn good to me.
The basic Recipe is located here http://www.homebrewtalk.com/f81/graff-malty-slightly-hopped-cider-117117/
But here are the general directions, incase that link goes away.
———————————————————————————————————————-
Materials needed for a 5 Gallon Batch
Clean fermenting yeast I have used Nottinham and Safale-05, both are good
.5 lbs of Crystal 60L If you use cheap store brand juice, I reccomend 120L. Cheap juice tends to turn out a tad tart and this will balance it.
1 oz of torrified wheat ( head retention, I’ve never used more than 2oz)
4 Gallons of apple juice.
1 gallon of water
2 lbs of DME ( I use 1 lb. amber and 1 lb. light DME)
0.5 oz of you favorite hops ( right around 6% AA, I have used 18.5% AA summit hops before and it took a month after kegging for strong bitterness to blend nicely)
WARNING! IF YOU ARE GOING TO CHANGE THE AMOUNT OF HOPS USED, MAKE IT LESS NOT MORE, it’s really just too bitter with any more.
Directions for brewing
Steep the 60L and torrified wheat in .75 gallons of water @ 155 degrees for 30 mins.
Sparge with .25 gallons 170 degree water and throw away grains.
Add DME and bring to a boil.
Add hops when boiling starts and boil for 30 mins.
Cool down the wort (if you choose not to cool the wort and just let the AJ do the cooling then your cider won’t be as clear). I don’t care about clarity so I just let the AJ do the cooling, but if you stick your pot in the freezer and let this get down to 70 degrees or so your cider will clear fairly easy. Pour the wort and apple juice into your carboy and pitch yeast.
Ferment 2 weeks at 64-68 degrees then keg or bottle.
I keg, and this stuff is VERY drinkable as soon as it is carbonated.
SUPERB taste and drinkability after 2-3 weeks of aging.
People bottling, it will have SUPERB taste and drinkability after the standard 3 week bottling period for carbonating.
—————————————————————————————————————–
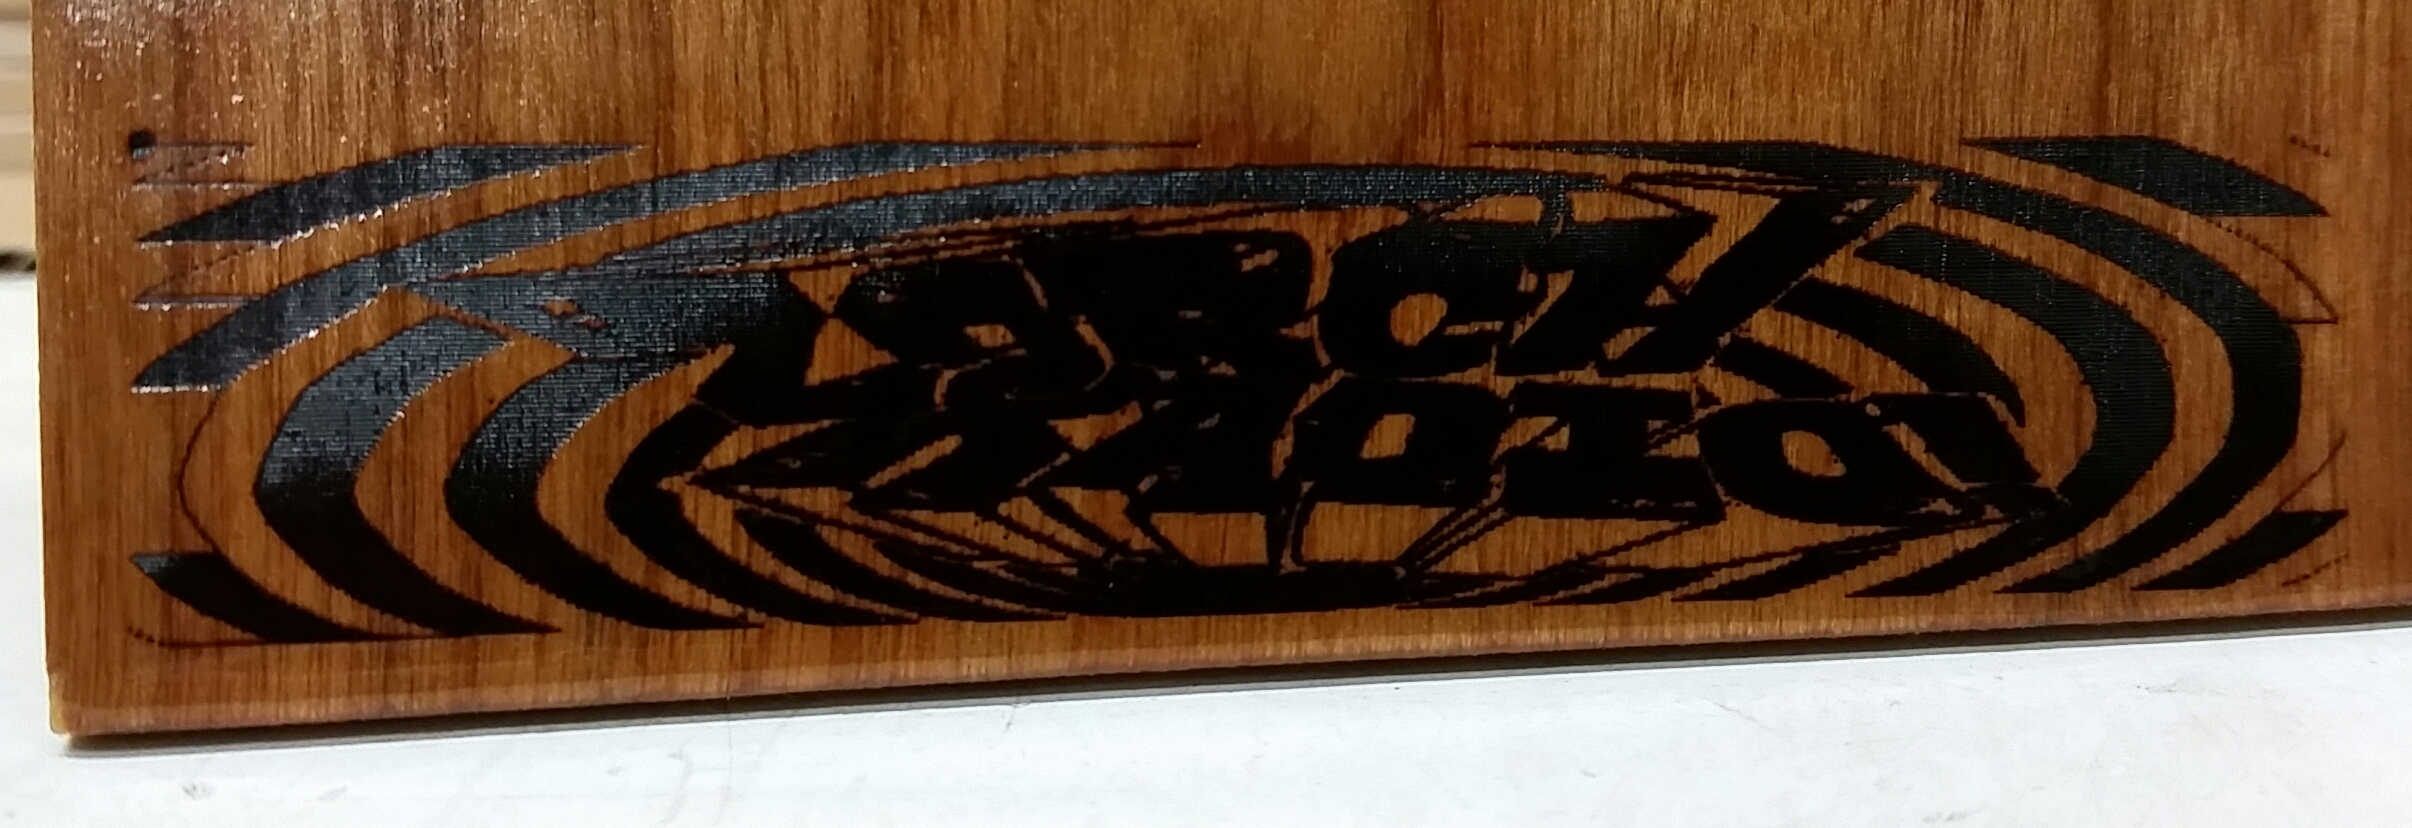
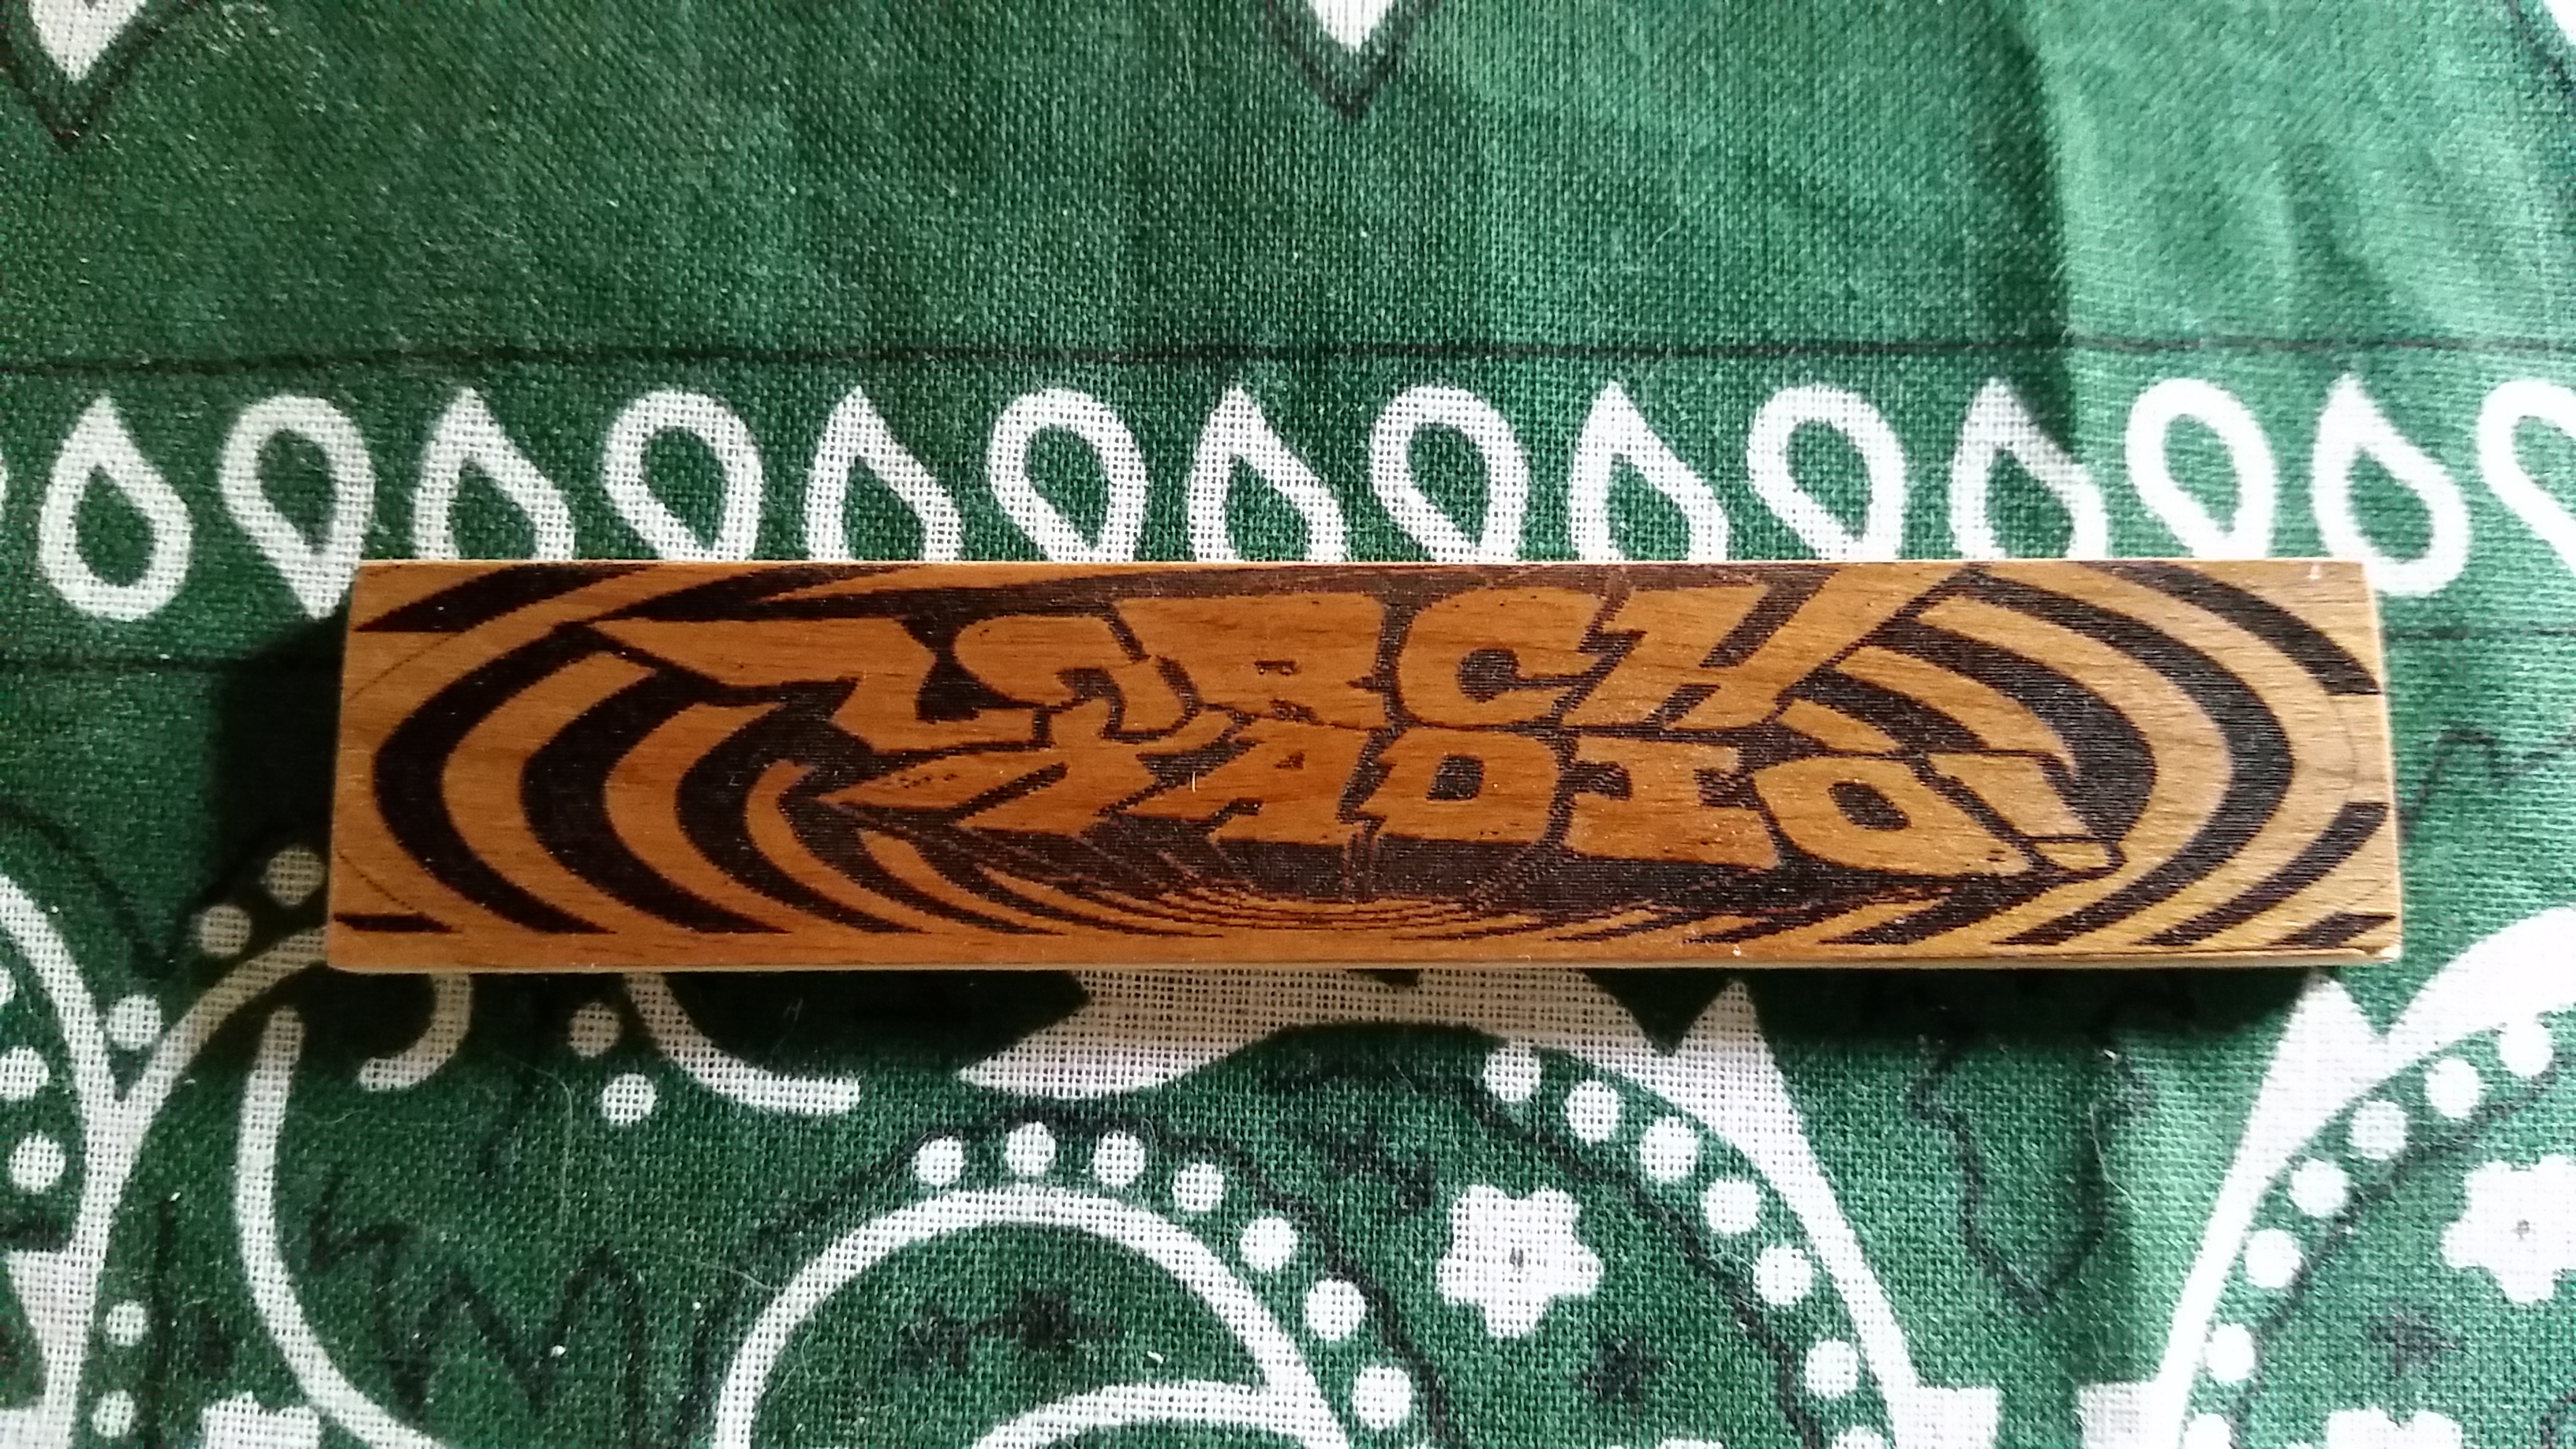
I have it on good authority, this should taste good, At any rate, here are some pics I took while I put it together.
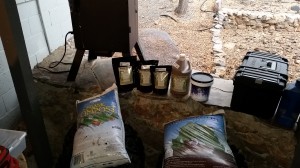
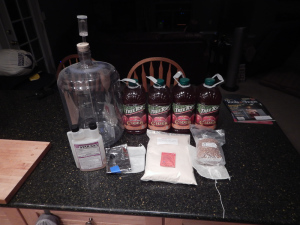
Ingredients, Ready to go.
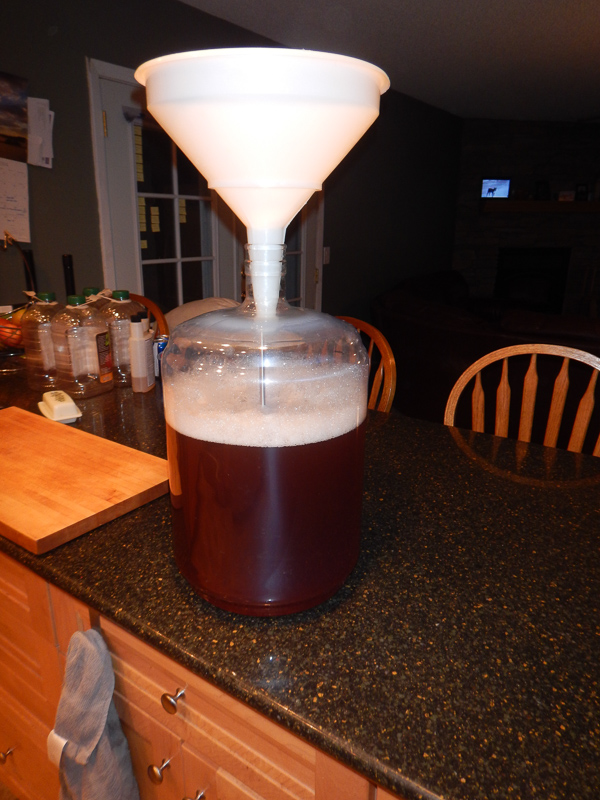
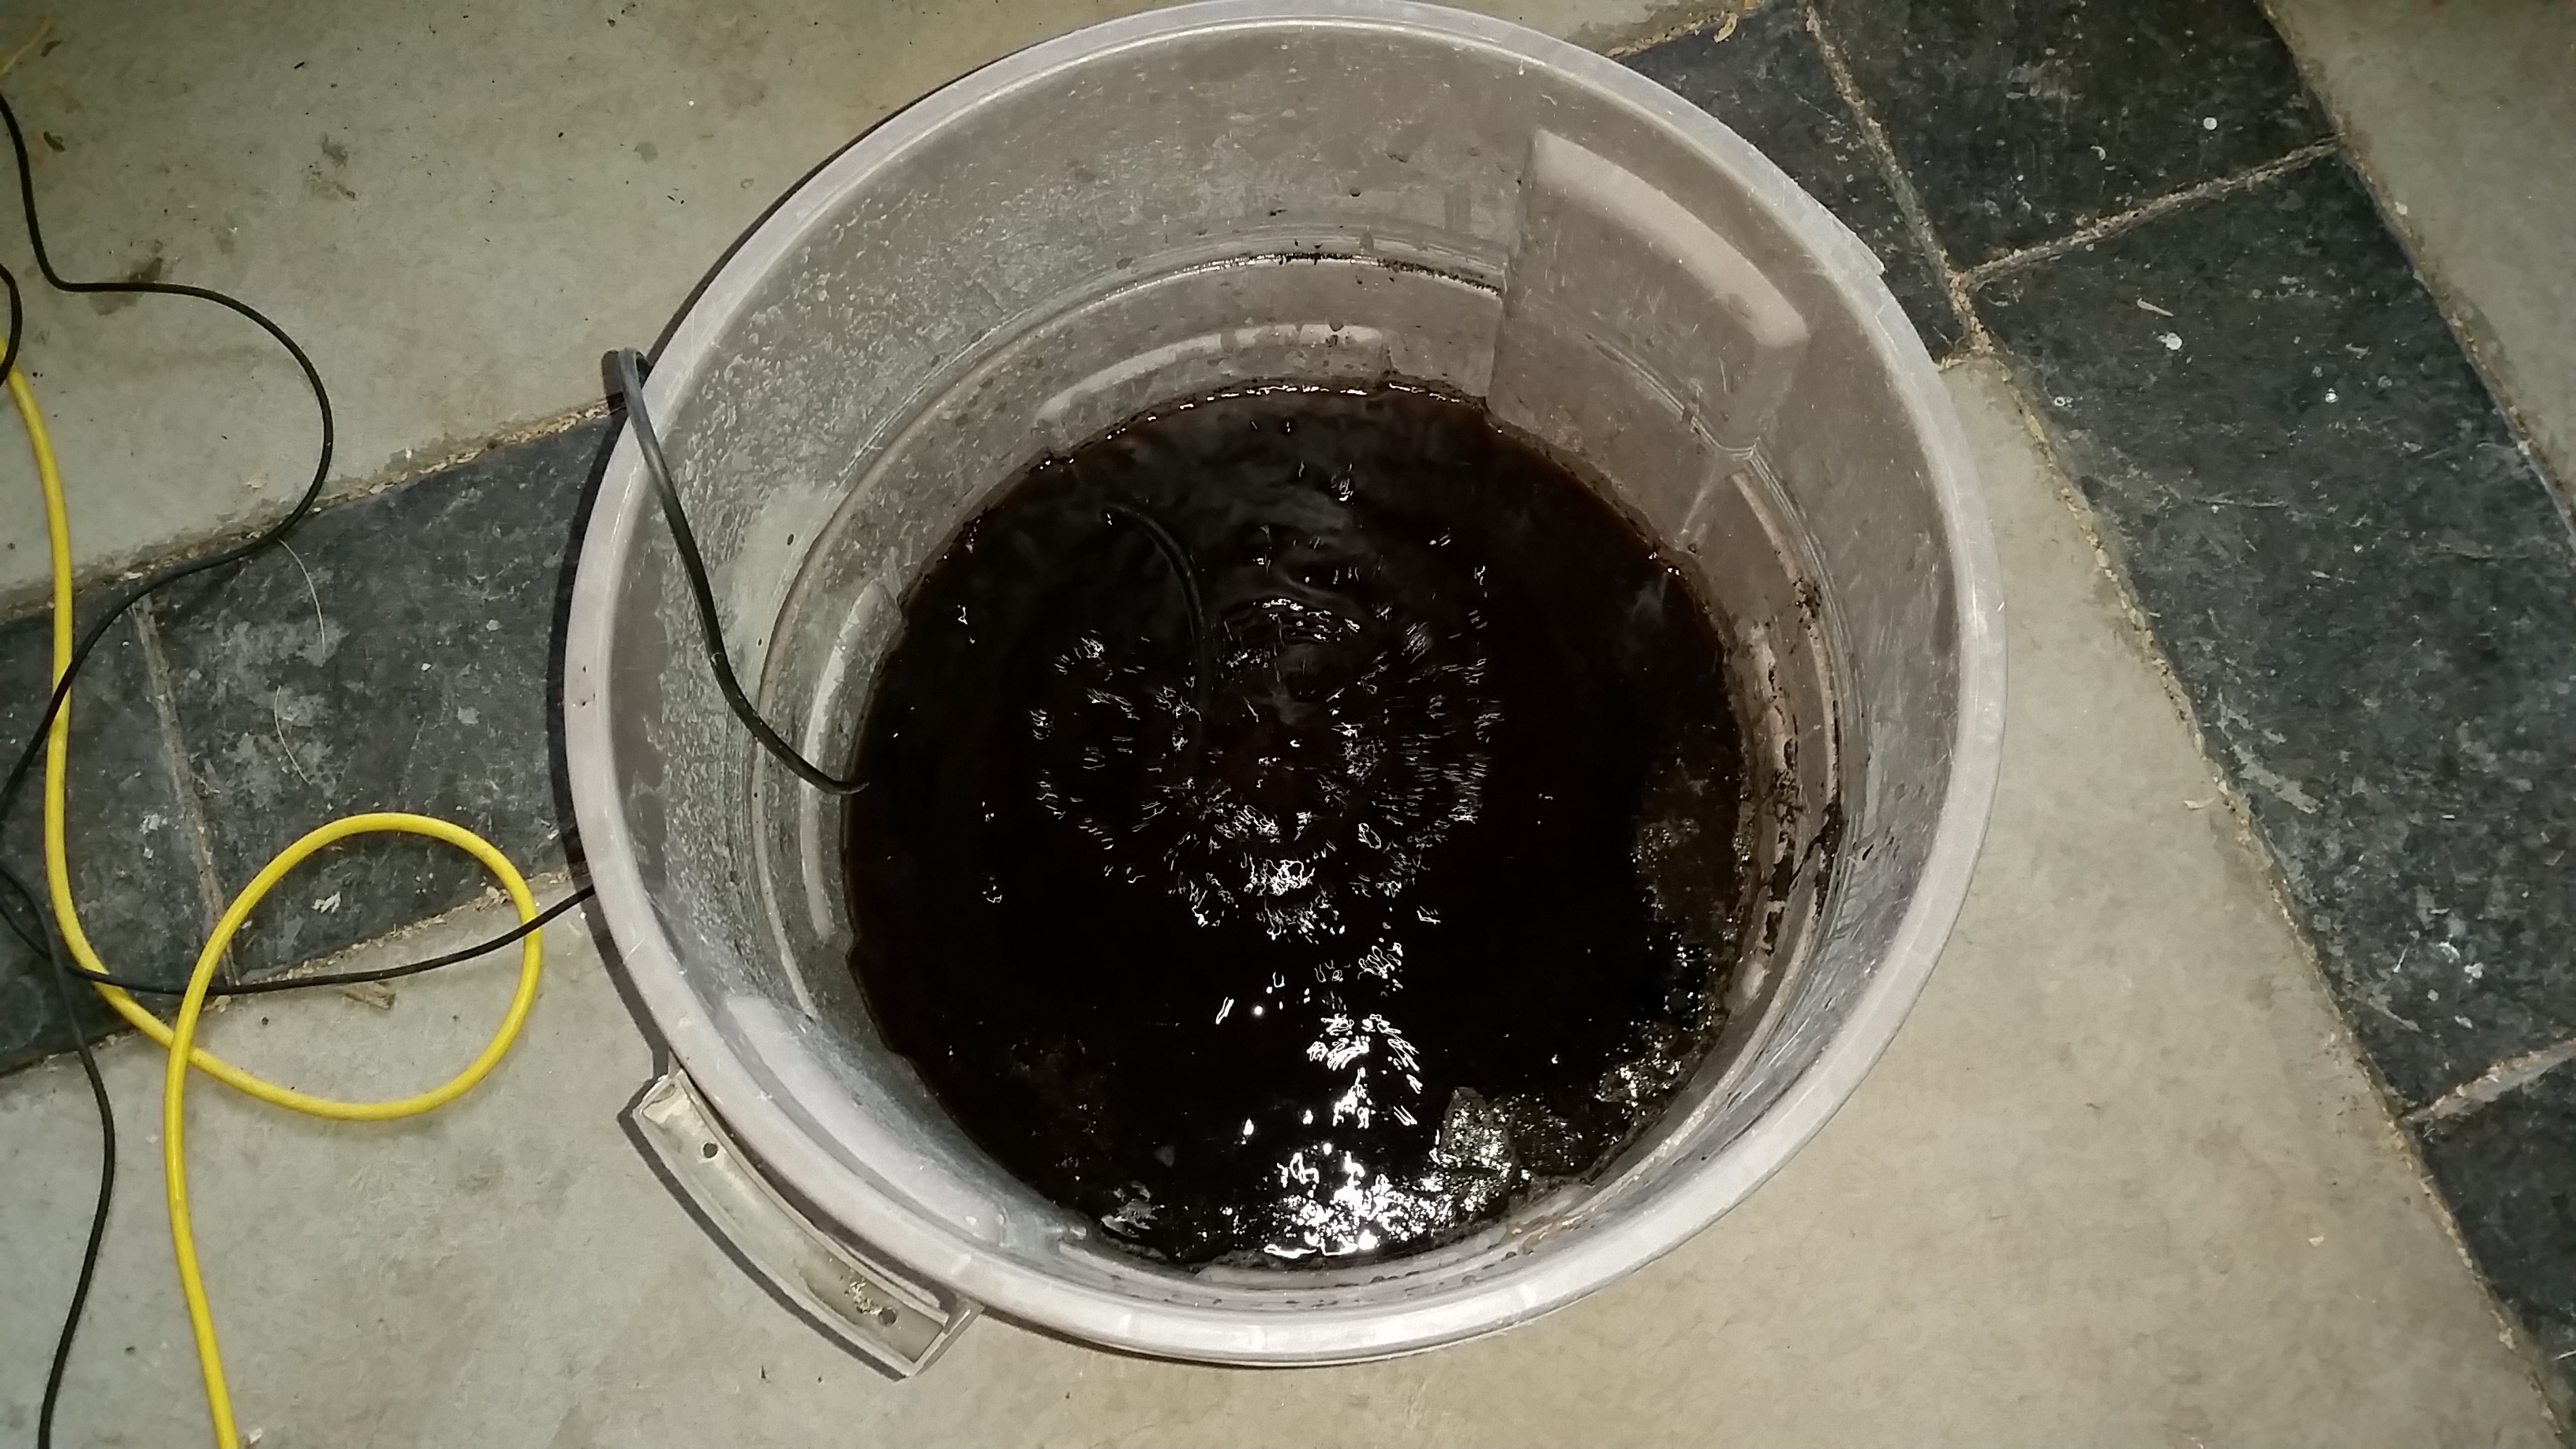
Apple cider, in the carboy

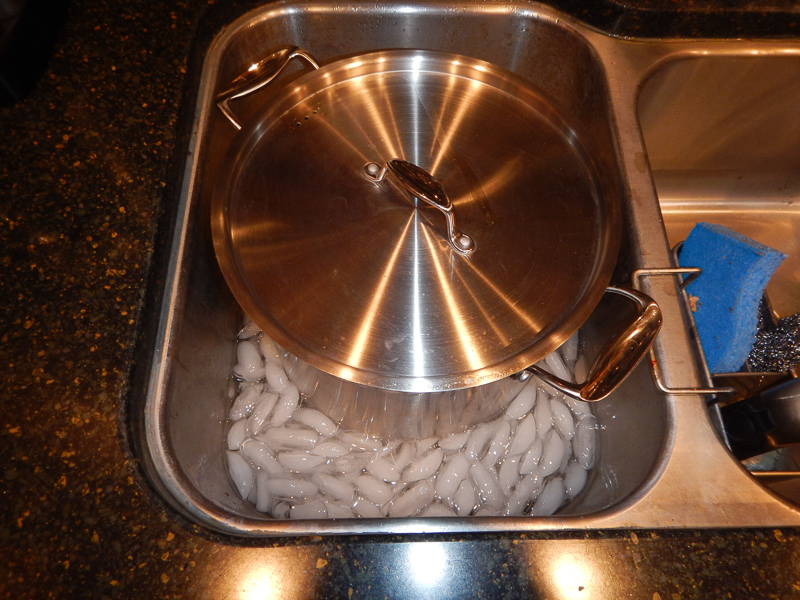
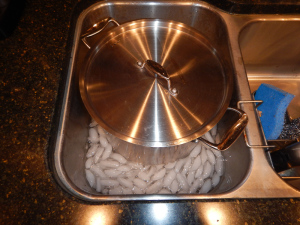
Chilling down the malt component, old school style.
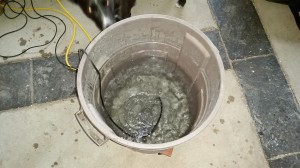
Sitting in my new school ferementation chamber. Will keep it at 65 degrees for a couple of weeks. 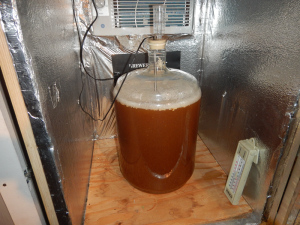
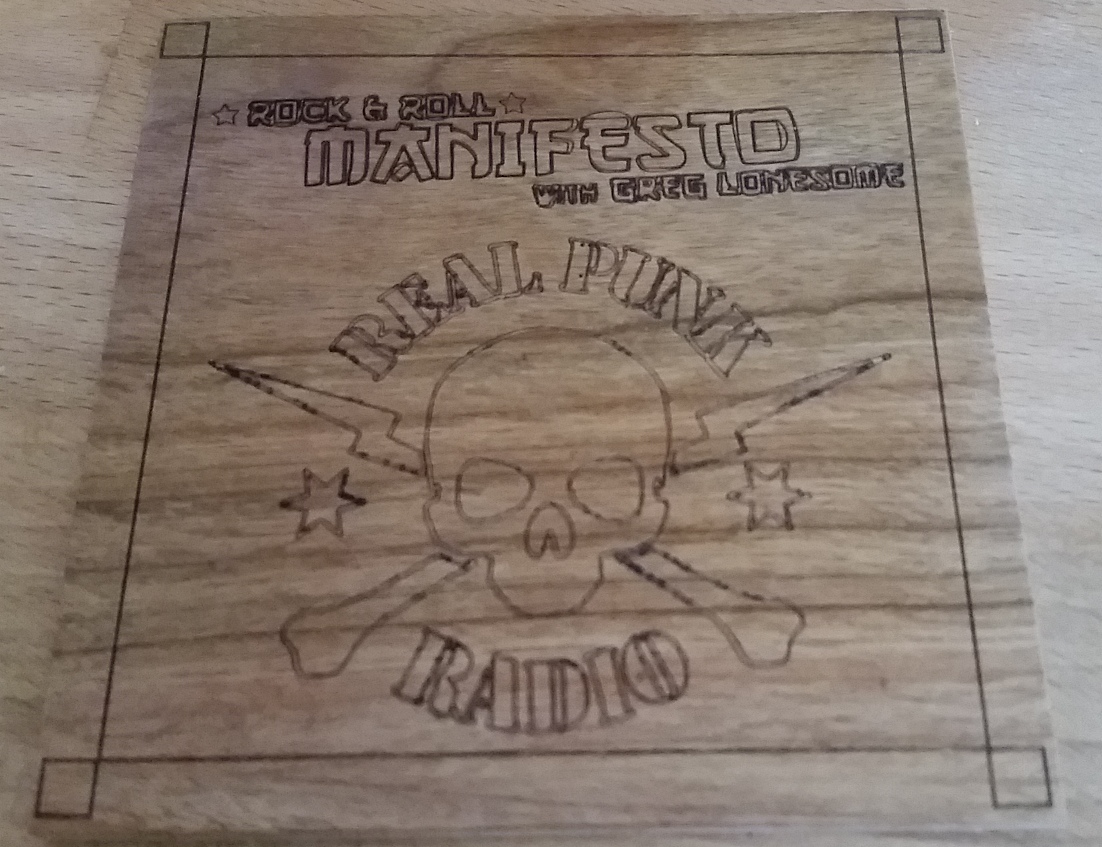
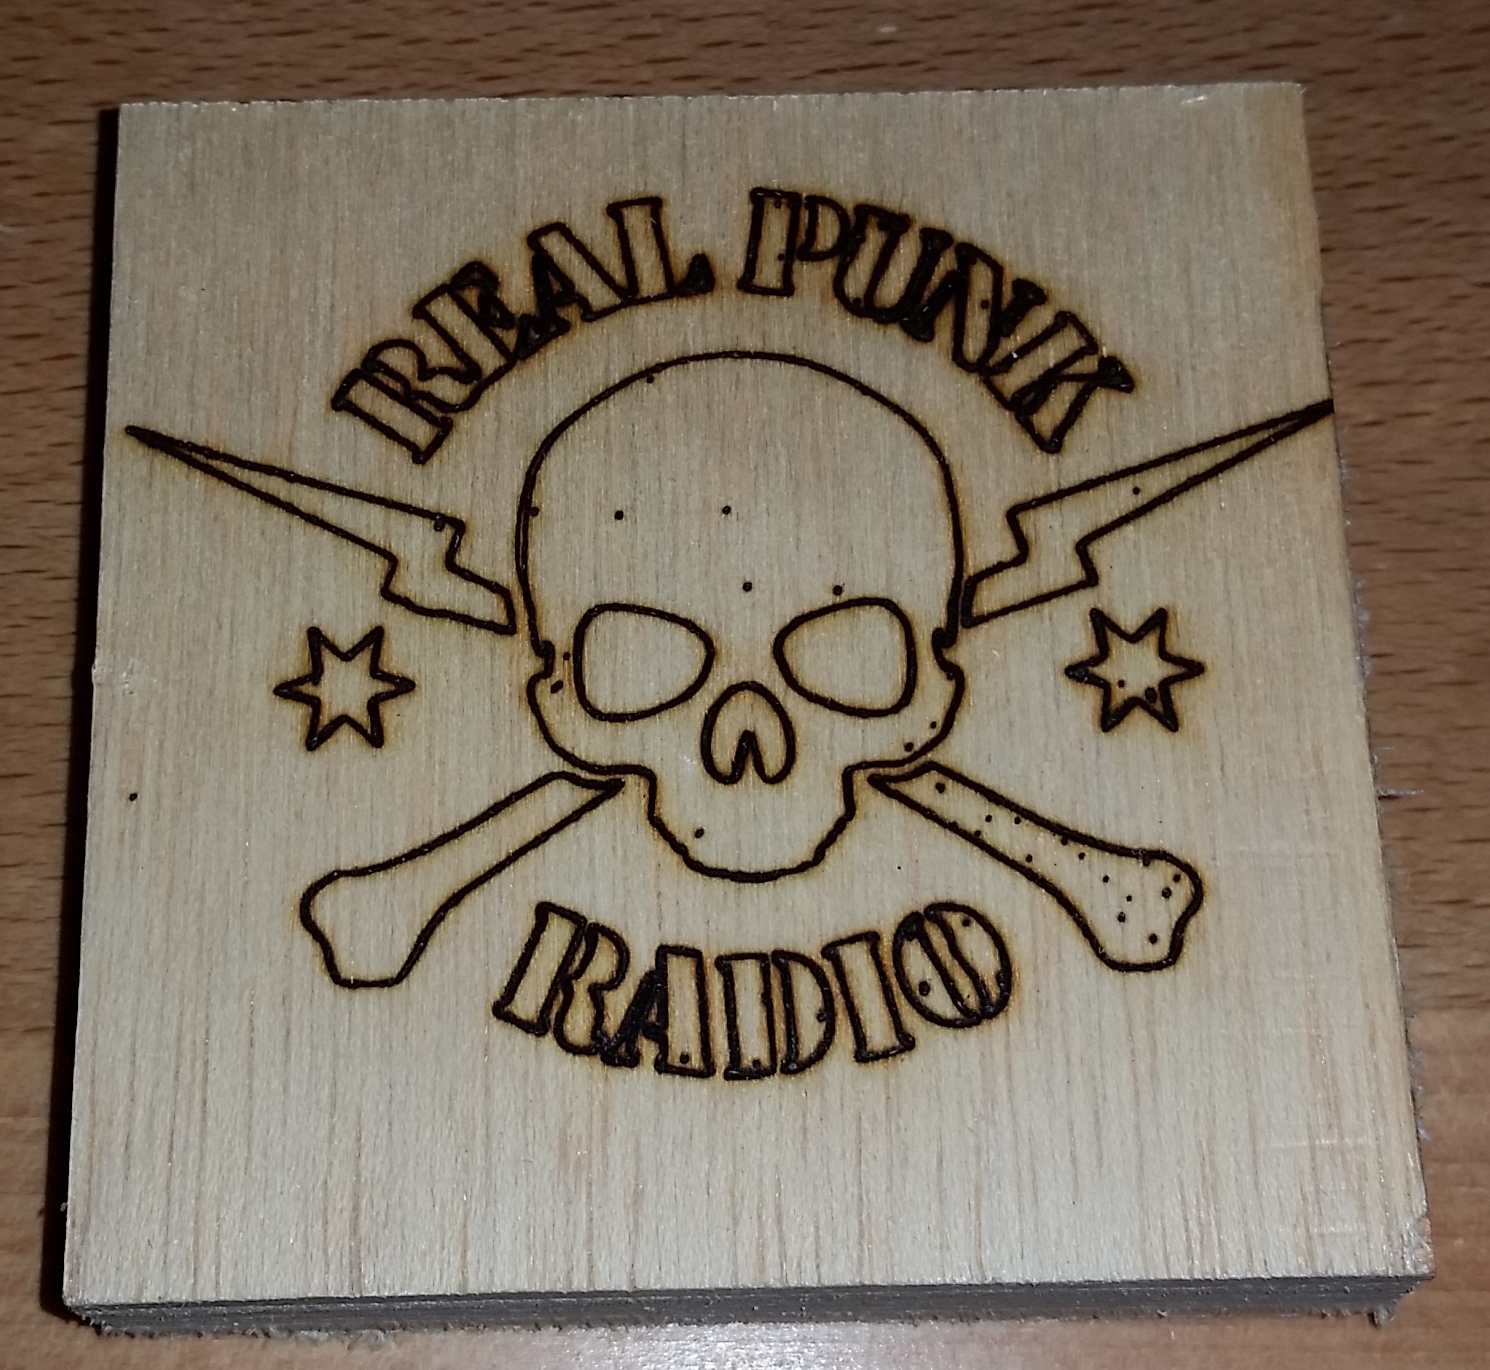

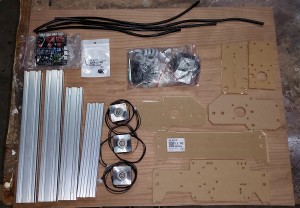
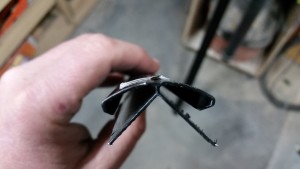
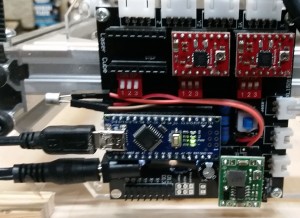 Ok, Maybe one complaint. At some point during the first day, the laser quit being able to shut off during use. It appears that the SMD mount transistor on the board that controls the laser went bad. In my attempt to replace it, I managed to screw up the board a bit, but finally just soldered some jumper wires in place and plugged in a replacement transistor I had laying around. Bada Bing, Bada boom, I’m back in business. It looks a little goofy, but it works fine now.
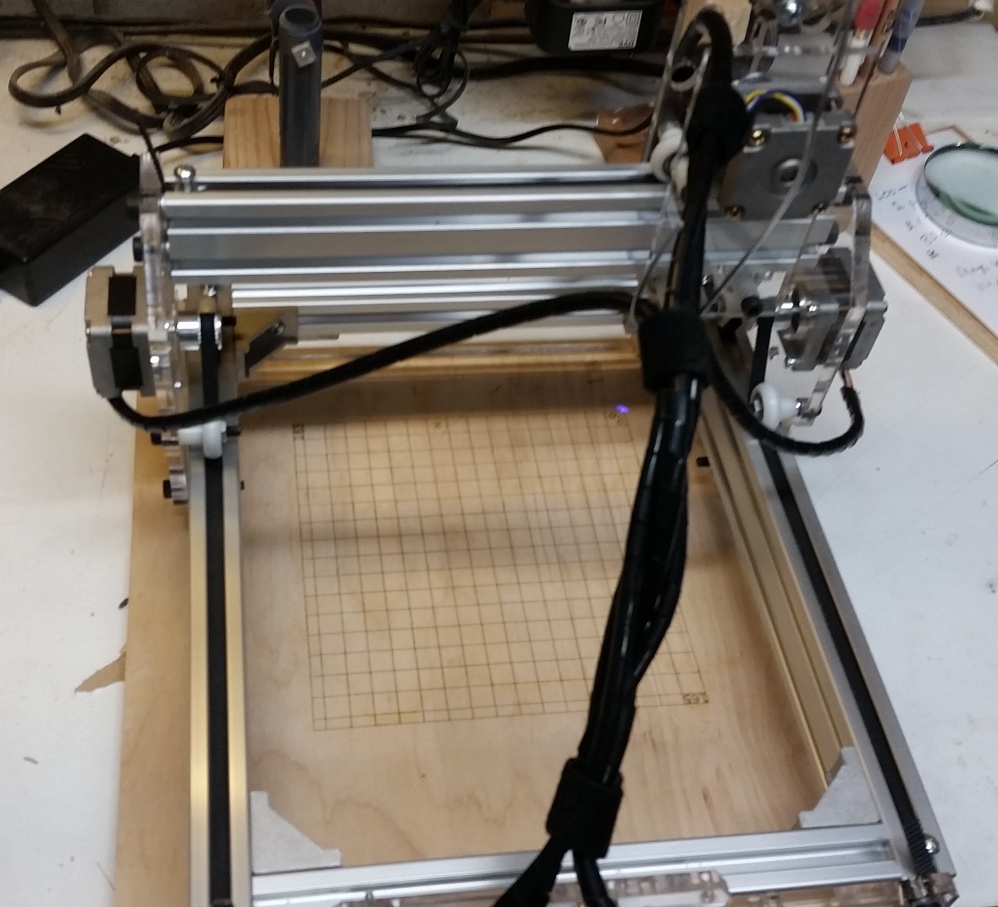
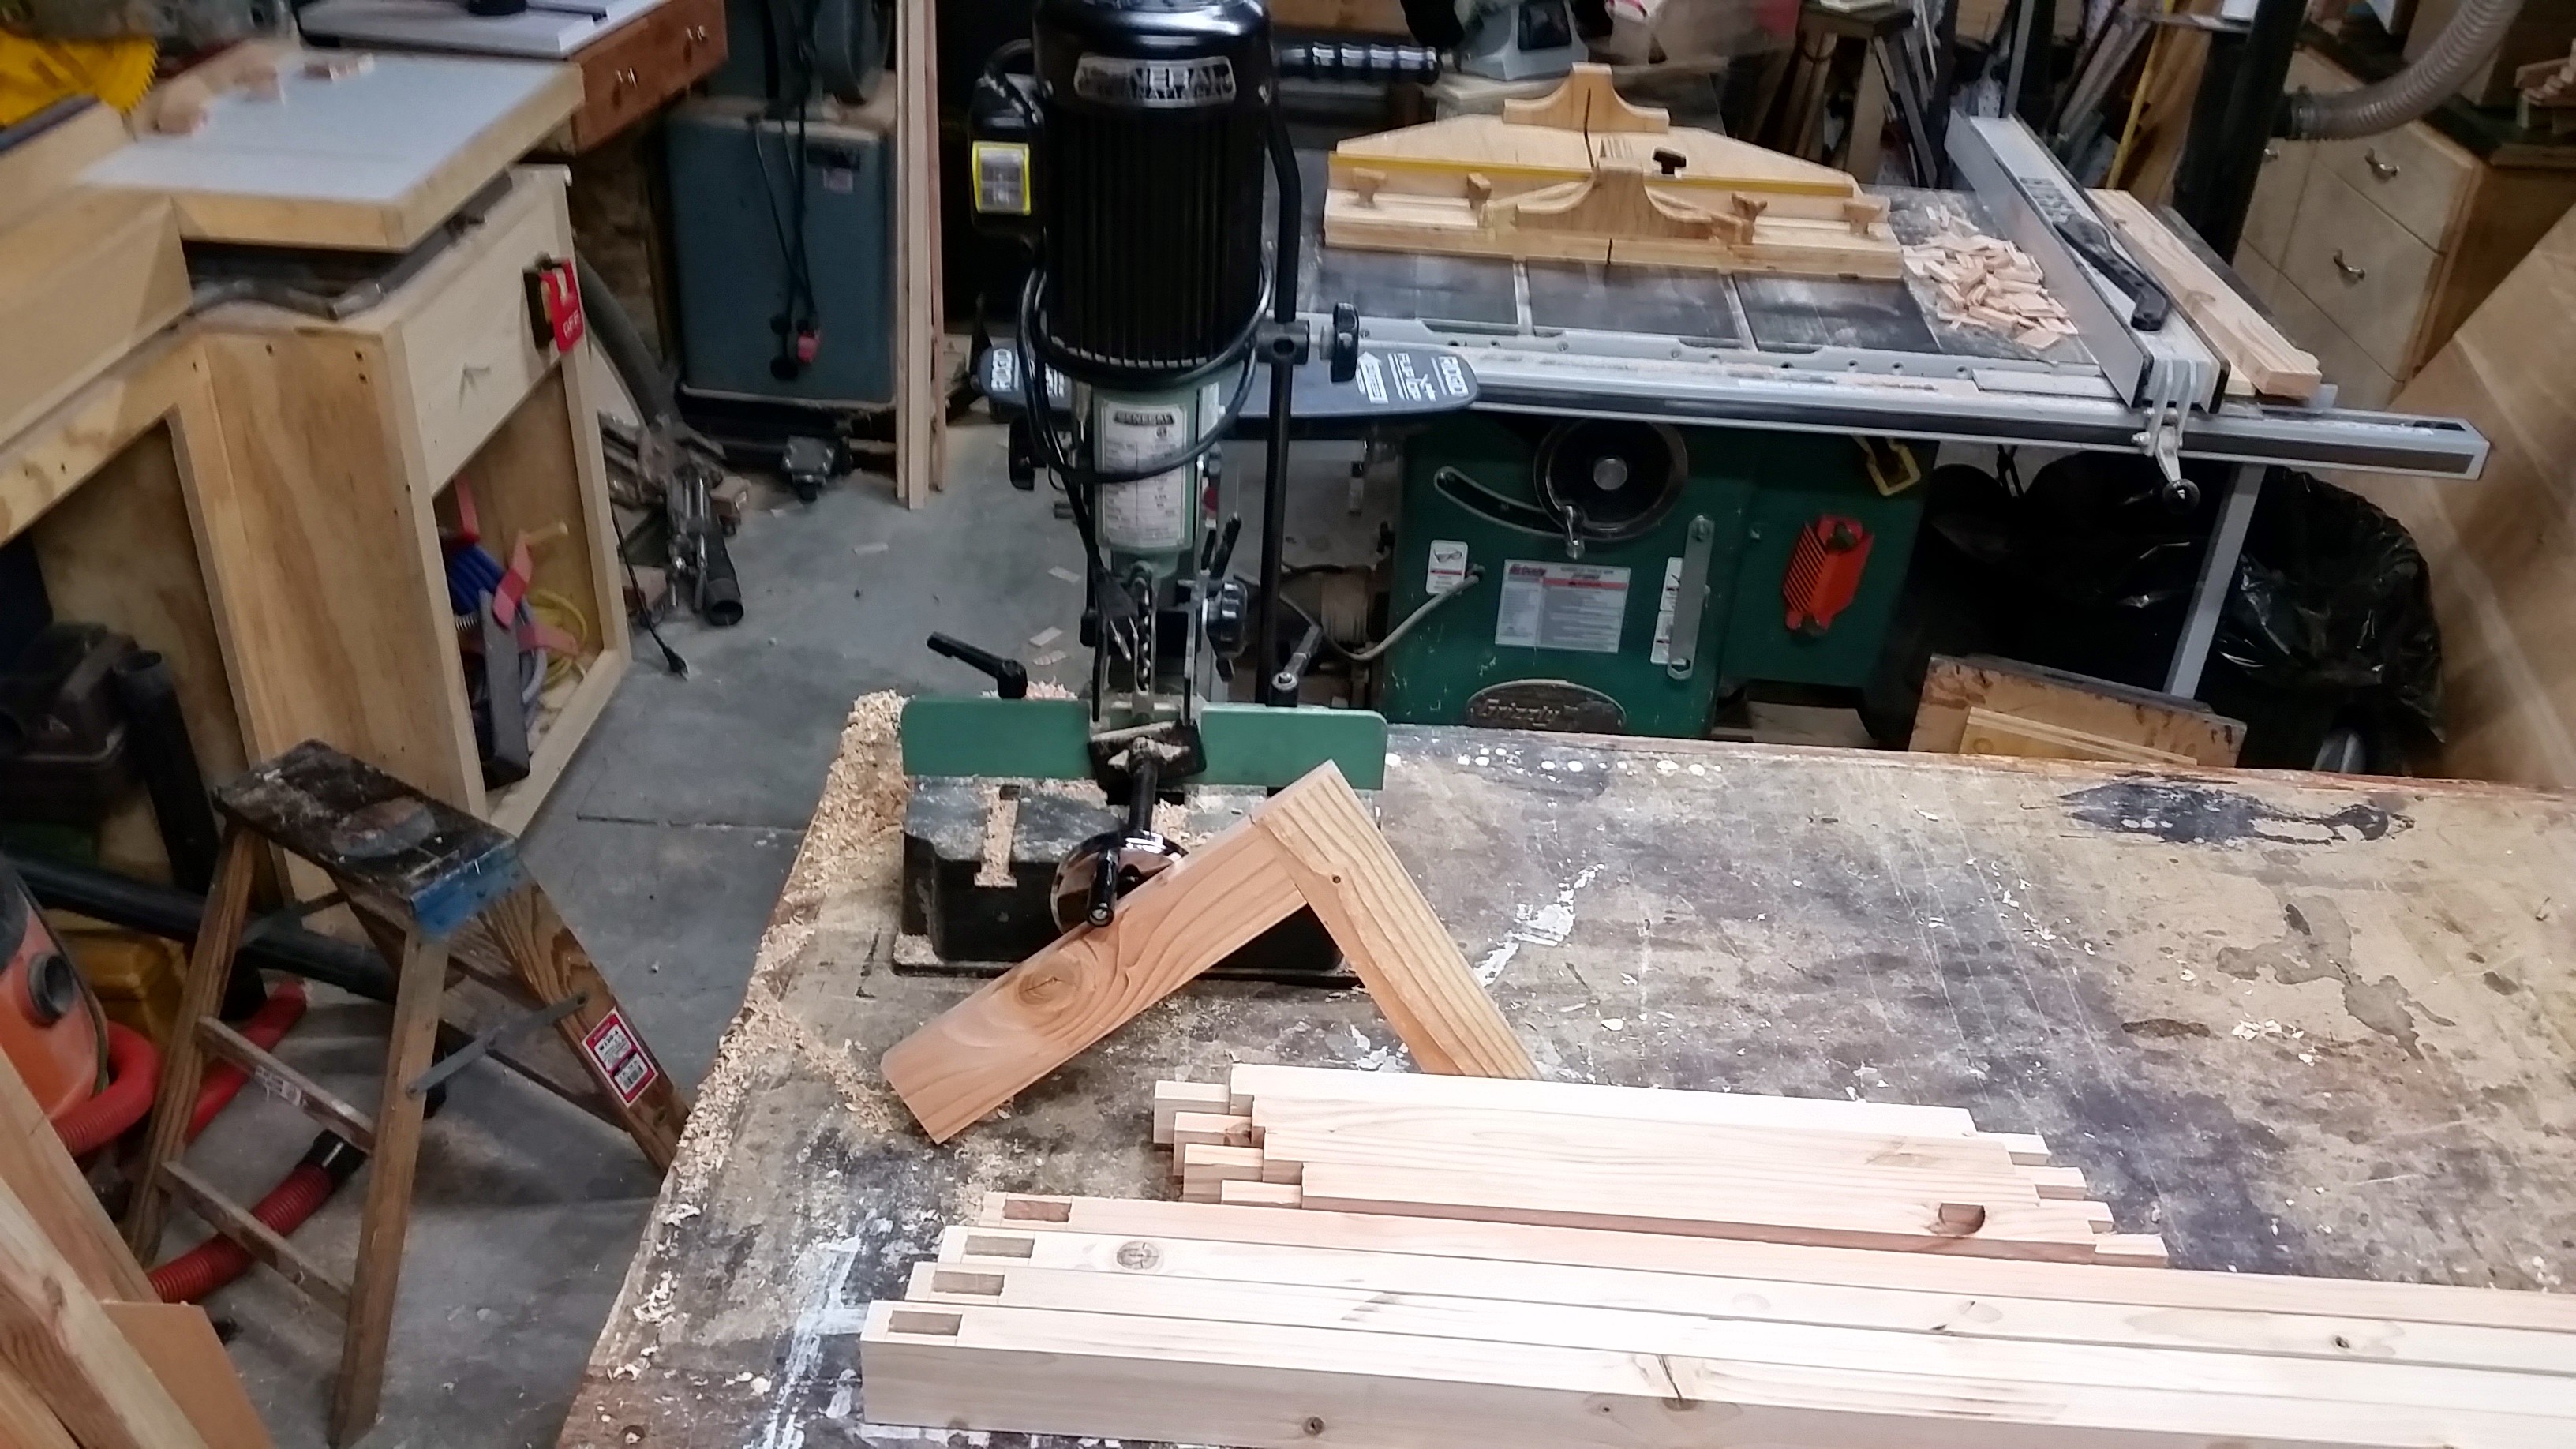
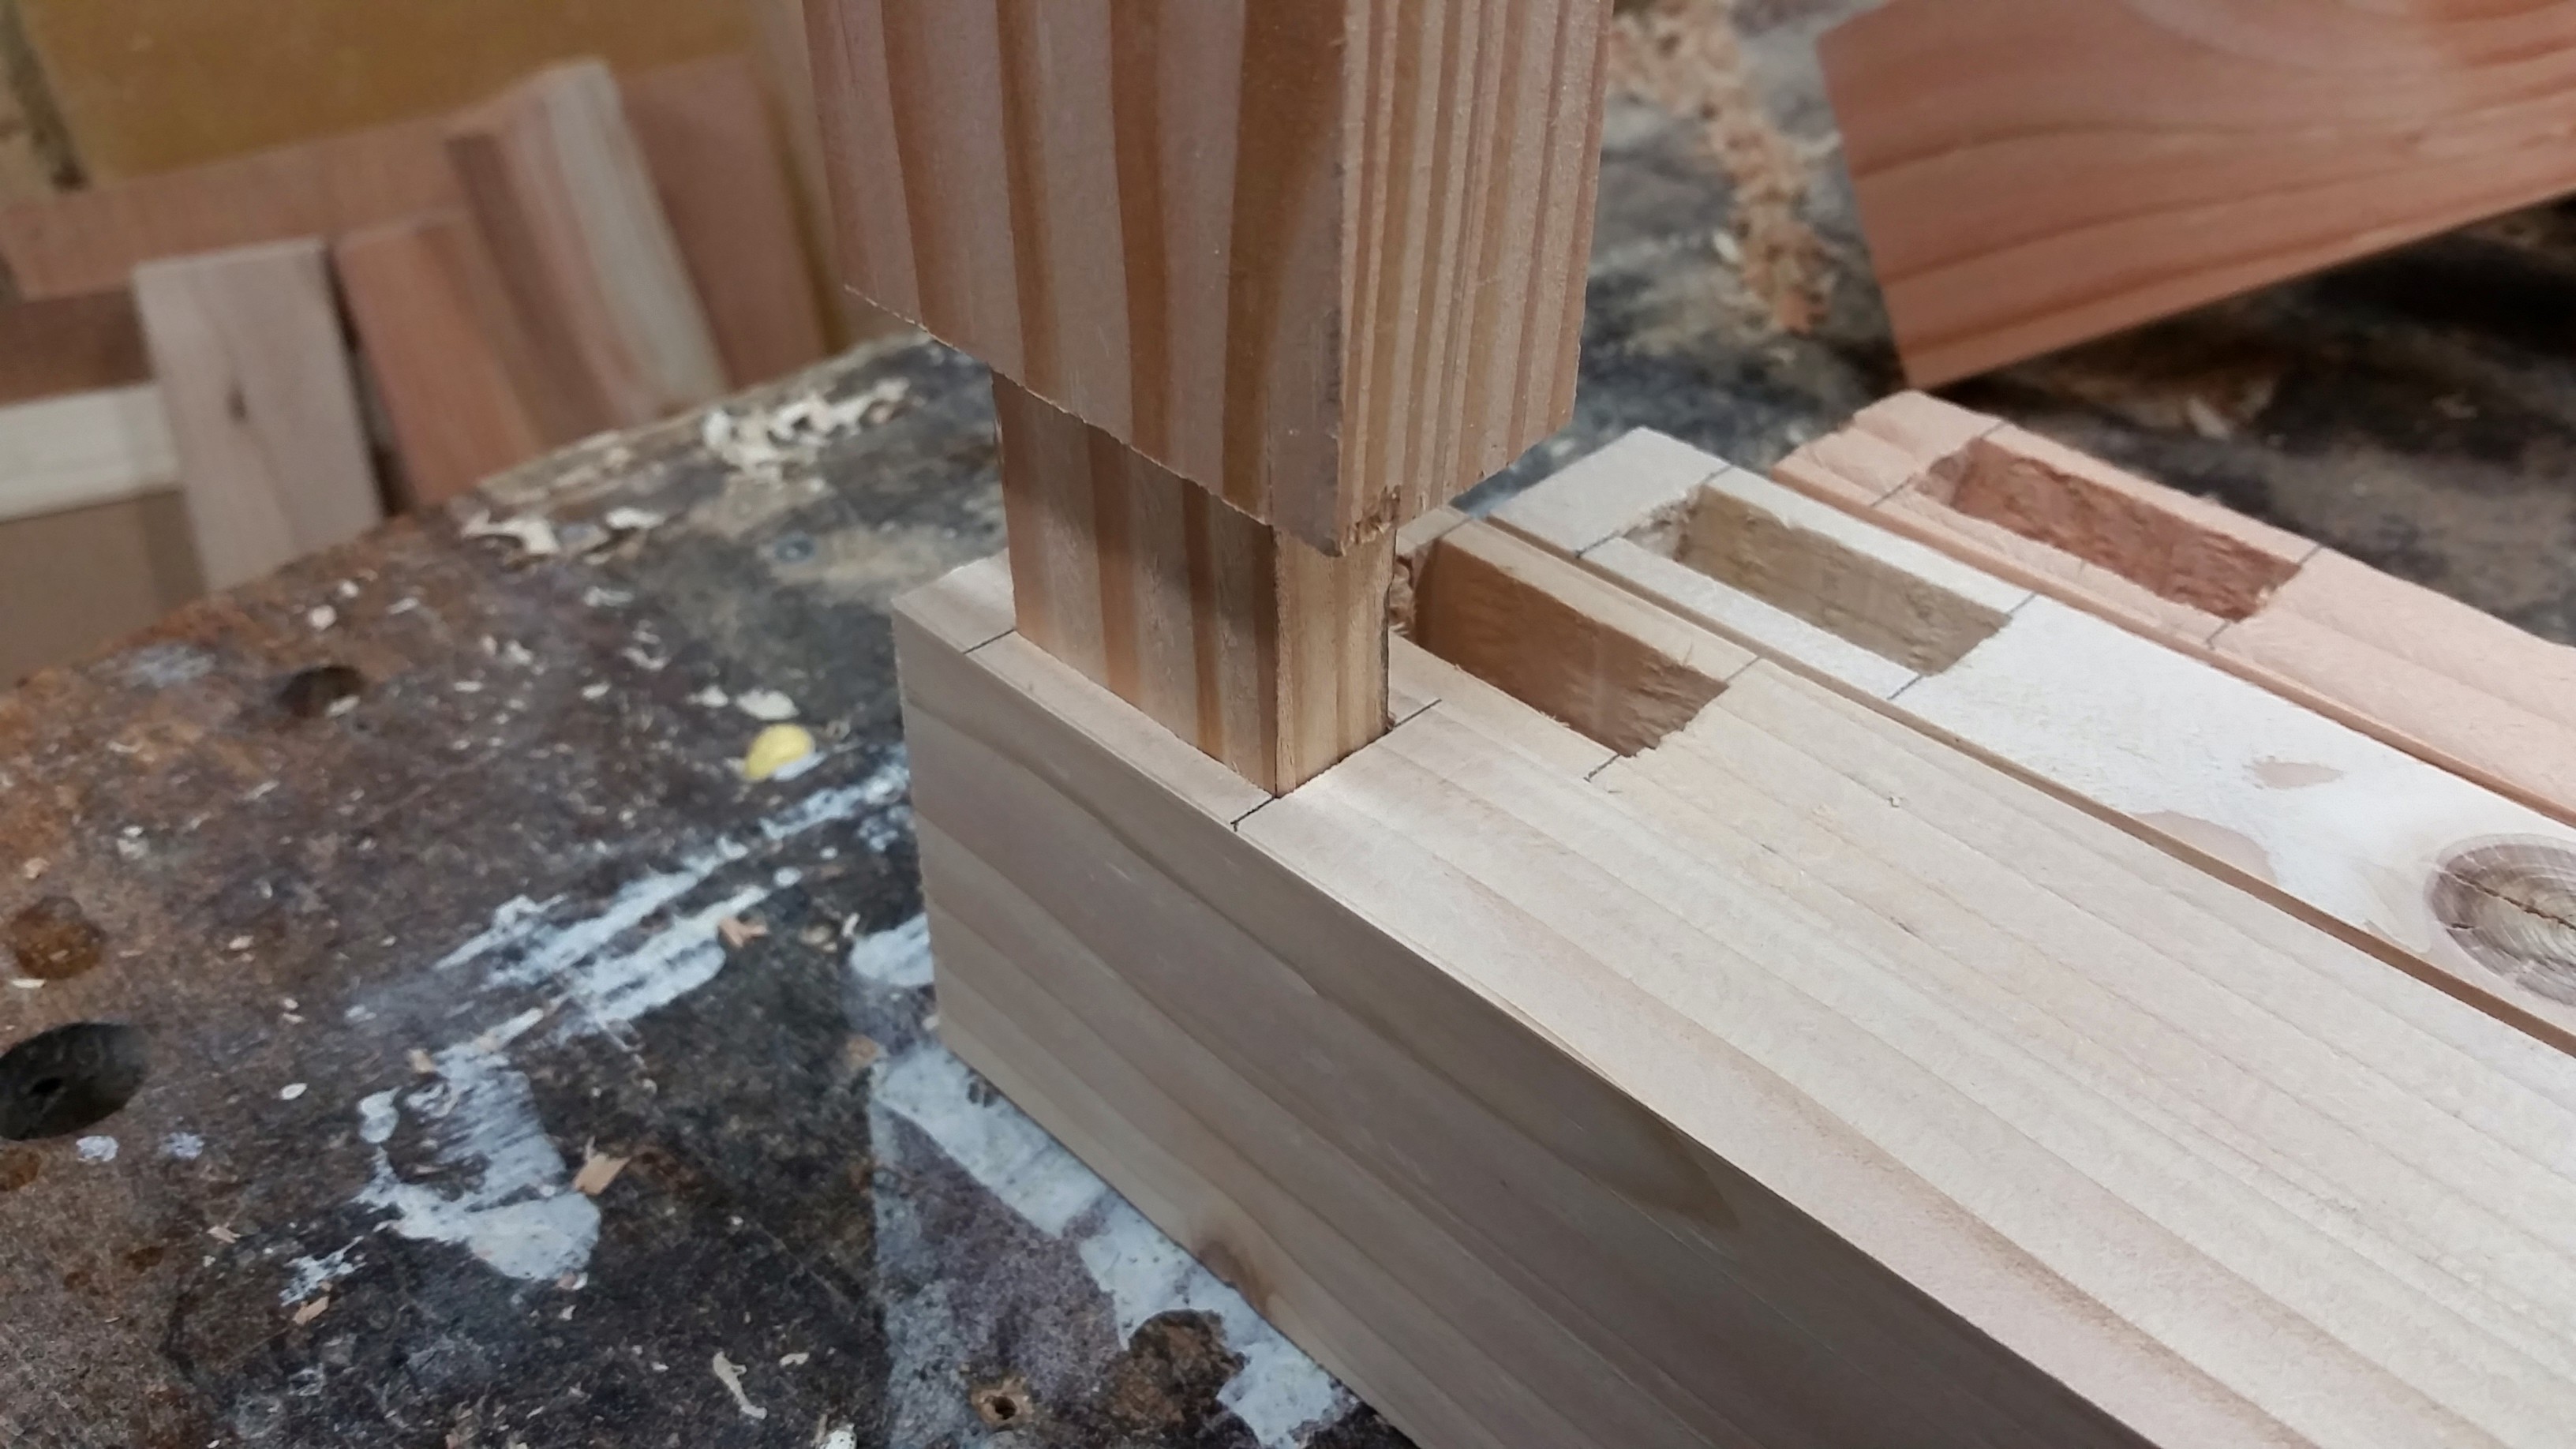

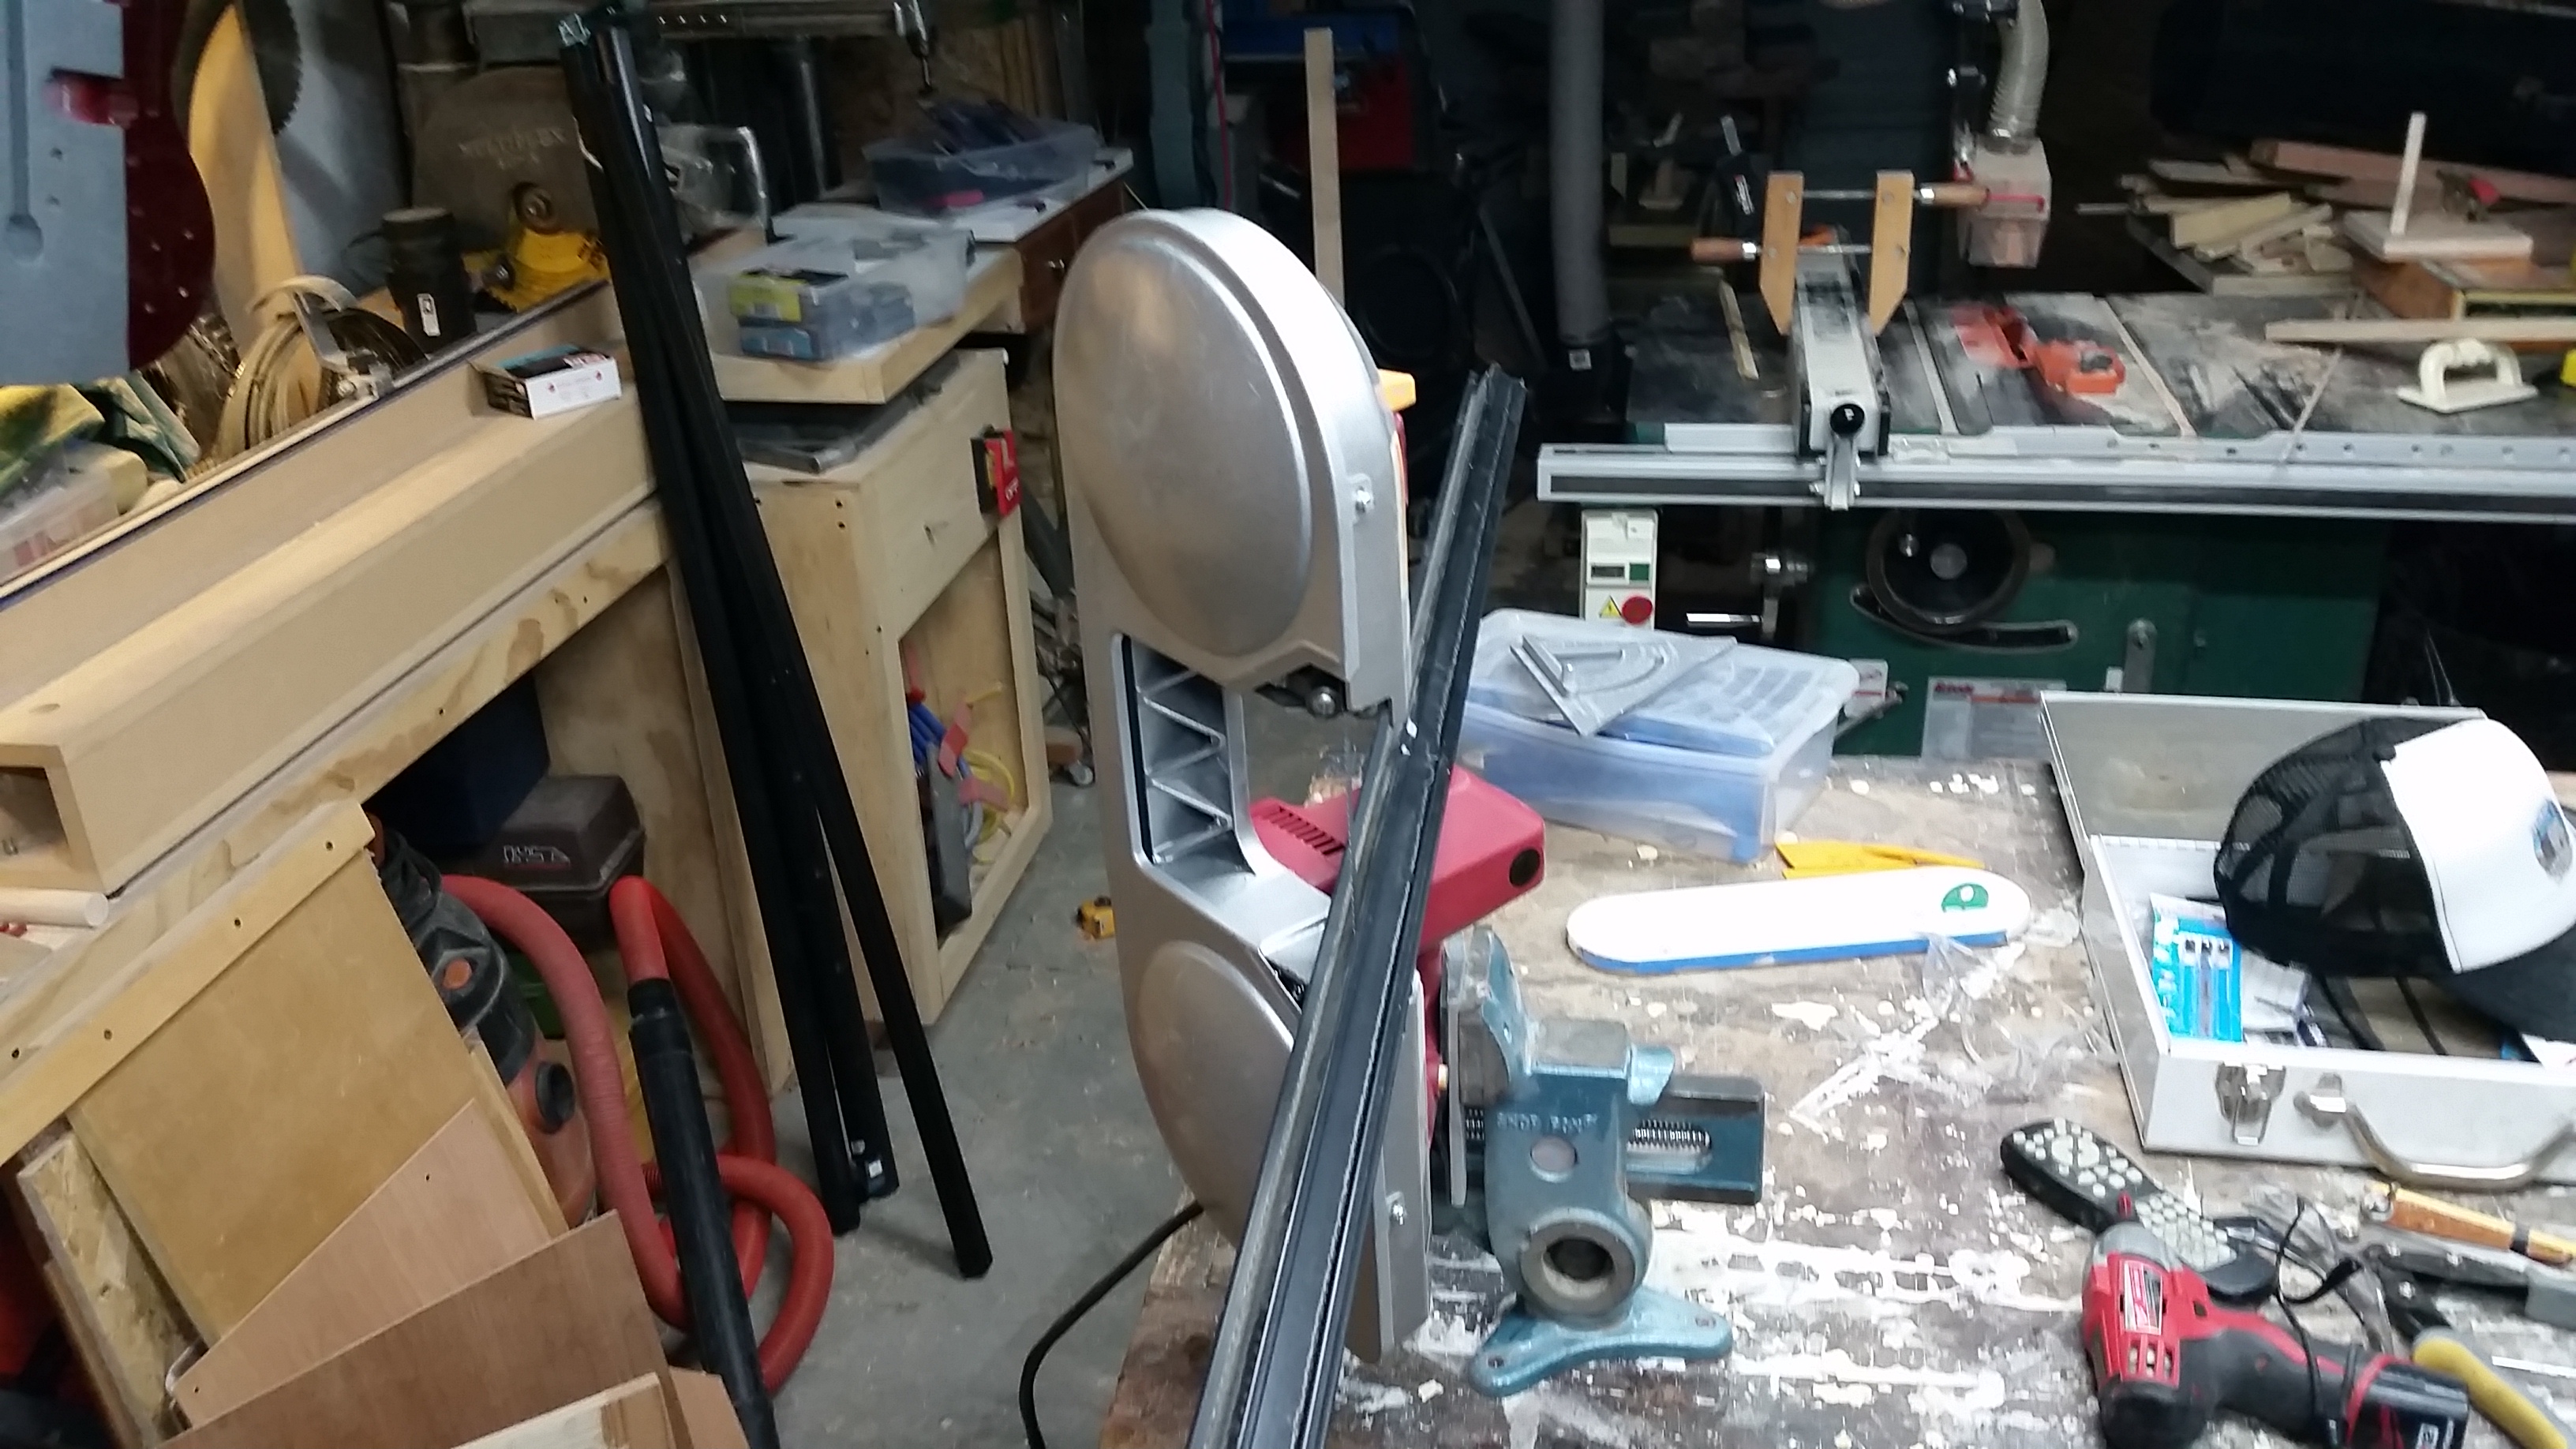
 Probably lots of ways I could have done it. The table saw just didn’t feel right, as there’s really no good way safely move the material through the blade.