Well, It was fun while it lasted. A couple of years ago we bought a little greenhouse package from Costco. It seemed nice, had some clear polycarbonate panels, which I thought would be nice since you could see out of them. Well, after a few years, that green house should a few drawbacks.
First, it was kind of leaky, airwise, and was not really easy to seal up to keep the drafts out. To be honest, It was pretty well engineered and I’m amazed it stayed up in the winds we get out here. I know that sucker had put up with over 60 mph winds in the past.
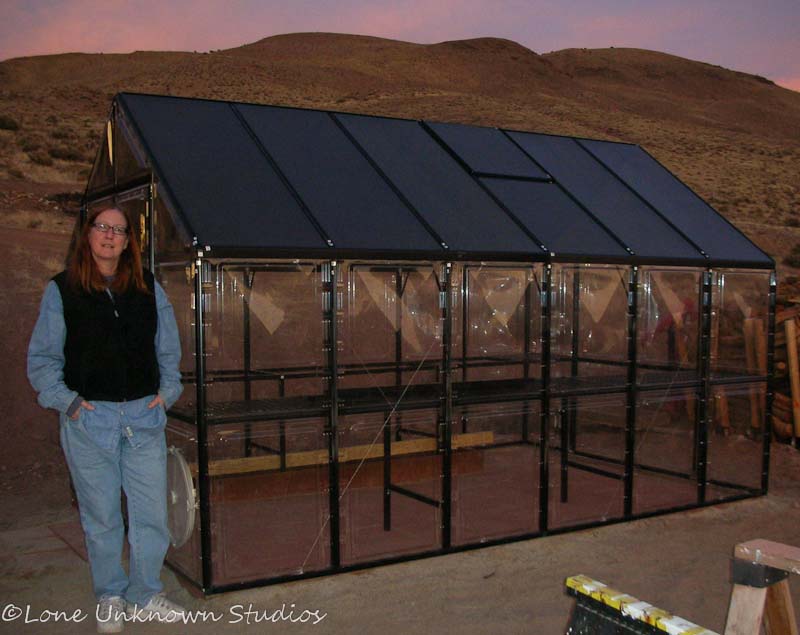
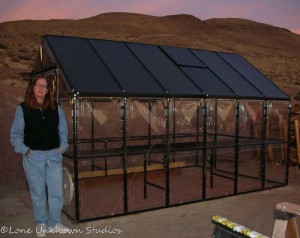
Here’s what it looked like to start with. It was fantastic. Clear windows, everything looked great. It worked pretty well and I have to admit I have enjoyed using it. If I knew then what I know now though, I would not have bought it.
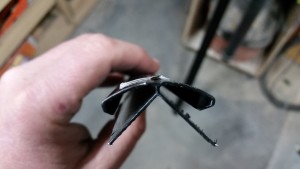
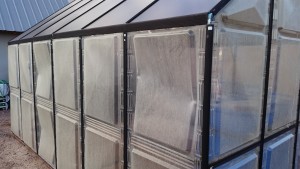
Fast forward a couple years and the roof has held up well, but the clear poly carb side walls just could not take the beating from the wind and the sun out here. They have gone hazy and brittle. If you touch them, they just fall apart. You can literally just poke your finger right through them.
The unfortunate thing is that they just are not repairable. I can’t replace them with something else. So I’m pretty much faced with the only option being to tear down the green house and completely rebuild.
So, Why not. No big deal. I bought some 2’x6′ twin wall polycarb panels similar to what was on the roof. I figure if they lasted, why not by some more like that. Plus the twin wall poly carb has at least a little bit of insulation value.
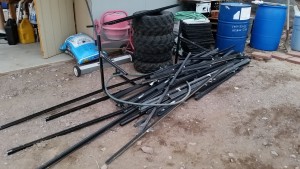
It took about 2 hours to tear down the old greenhouse. Here’s whats left.
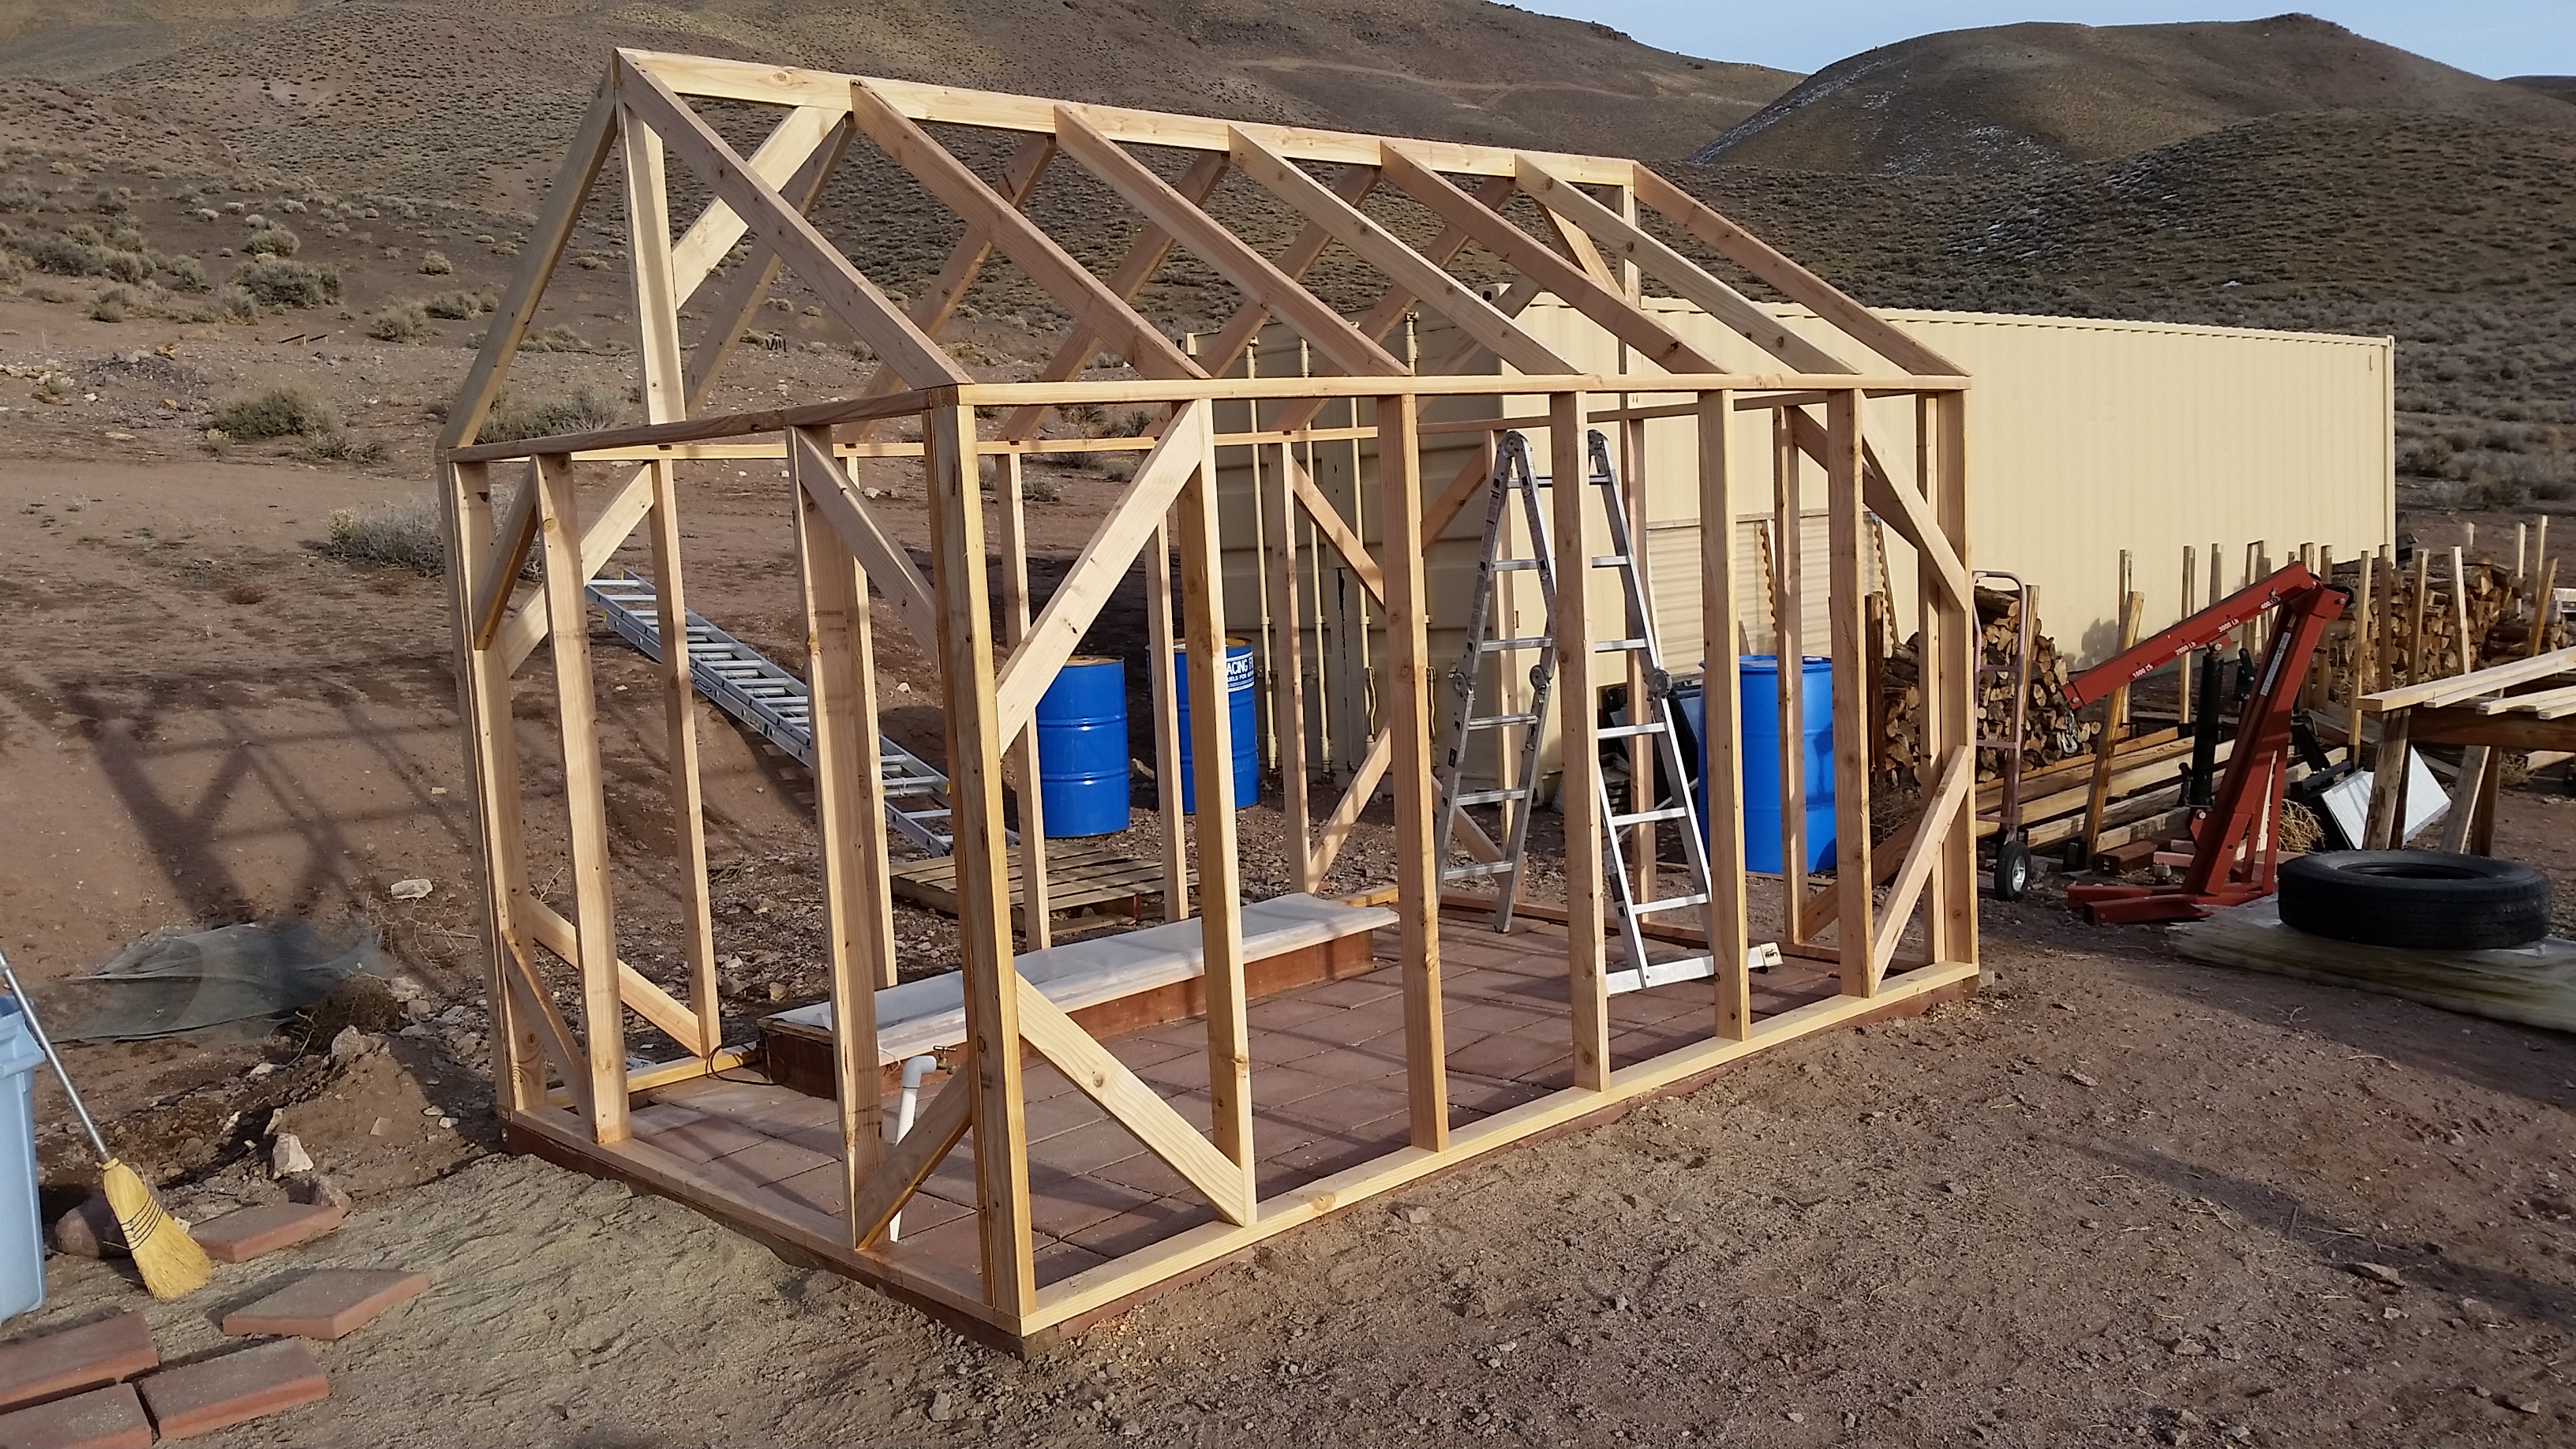
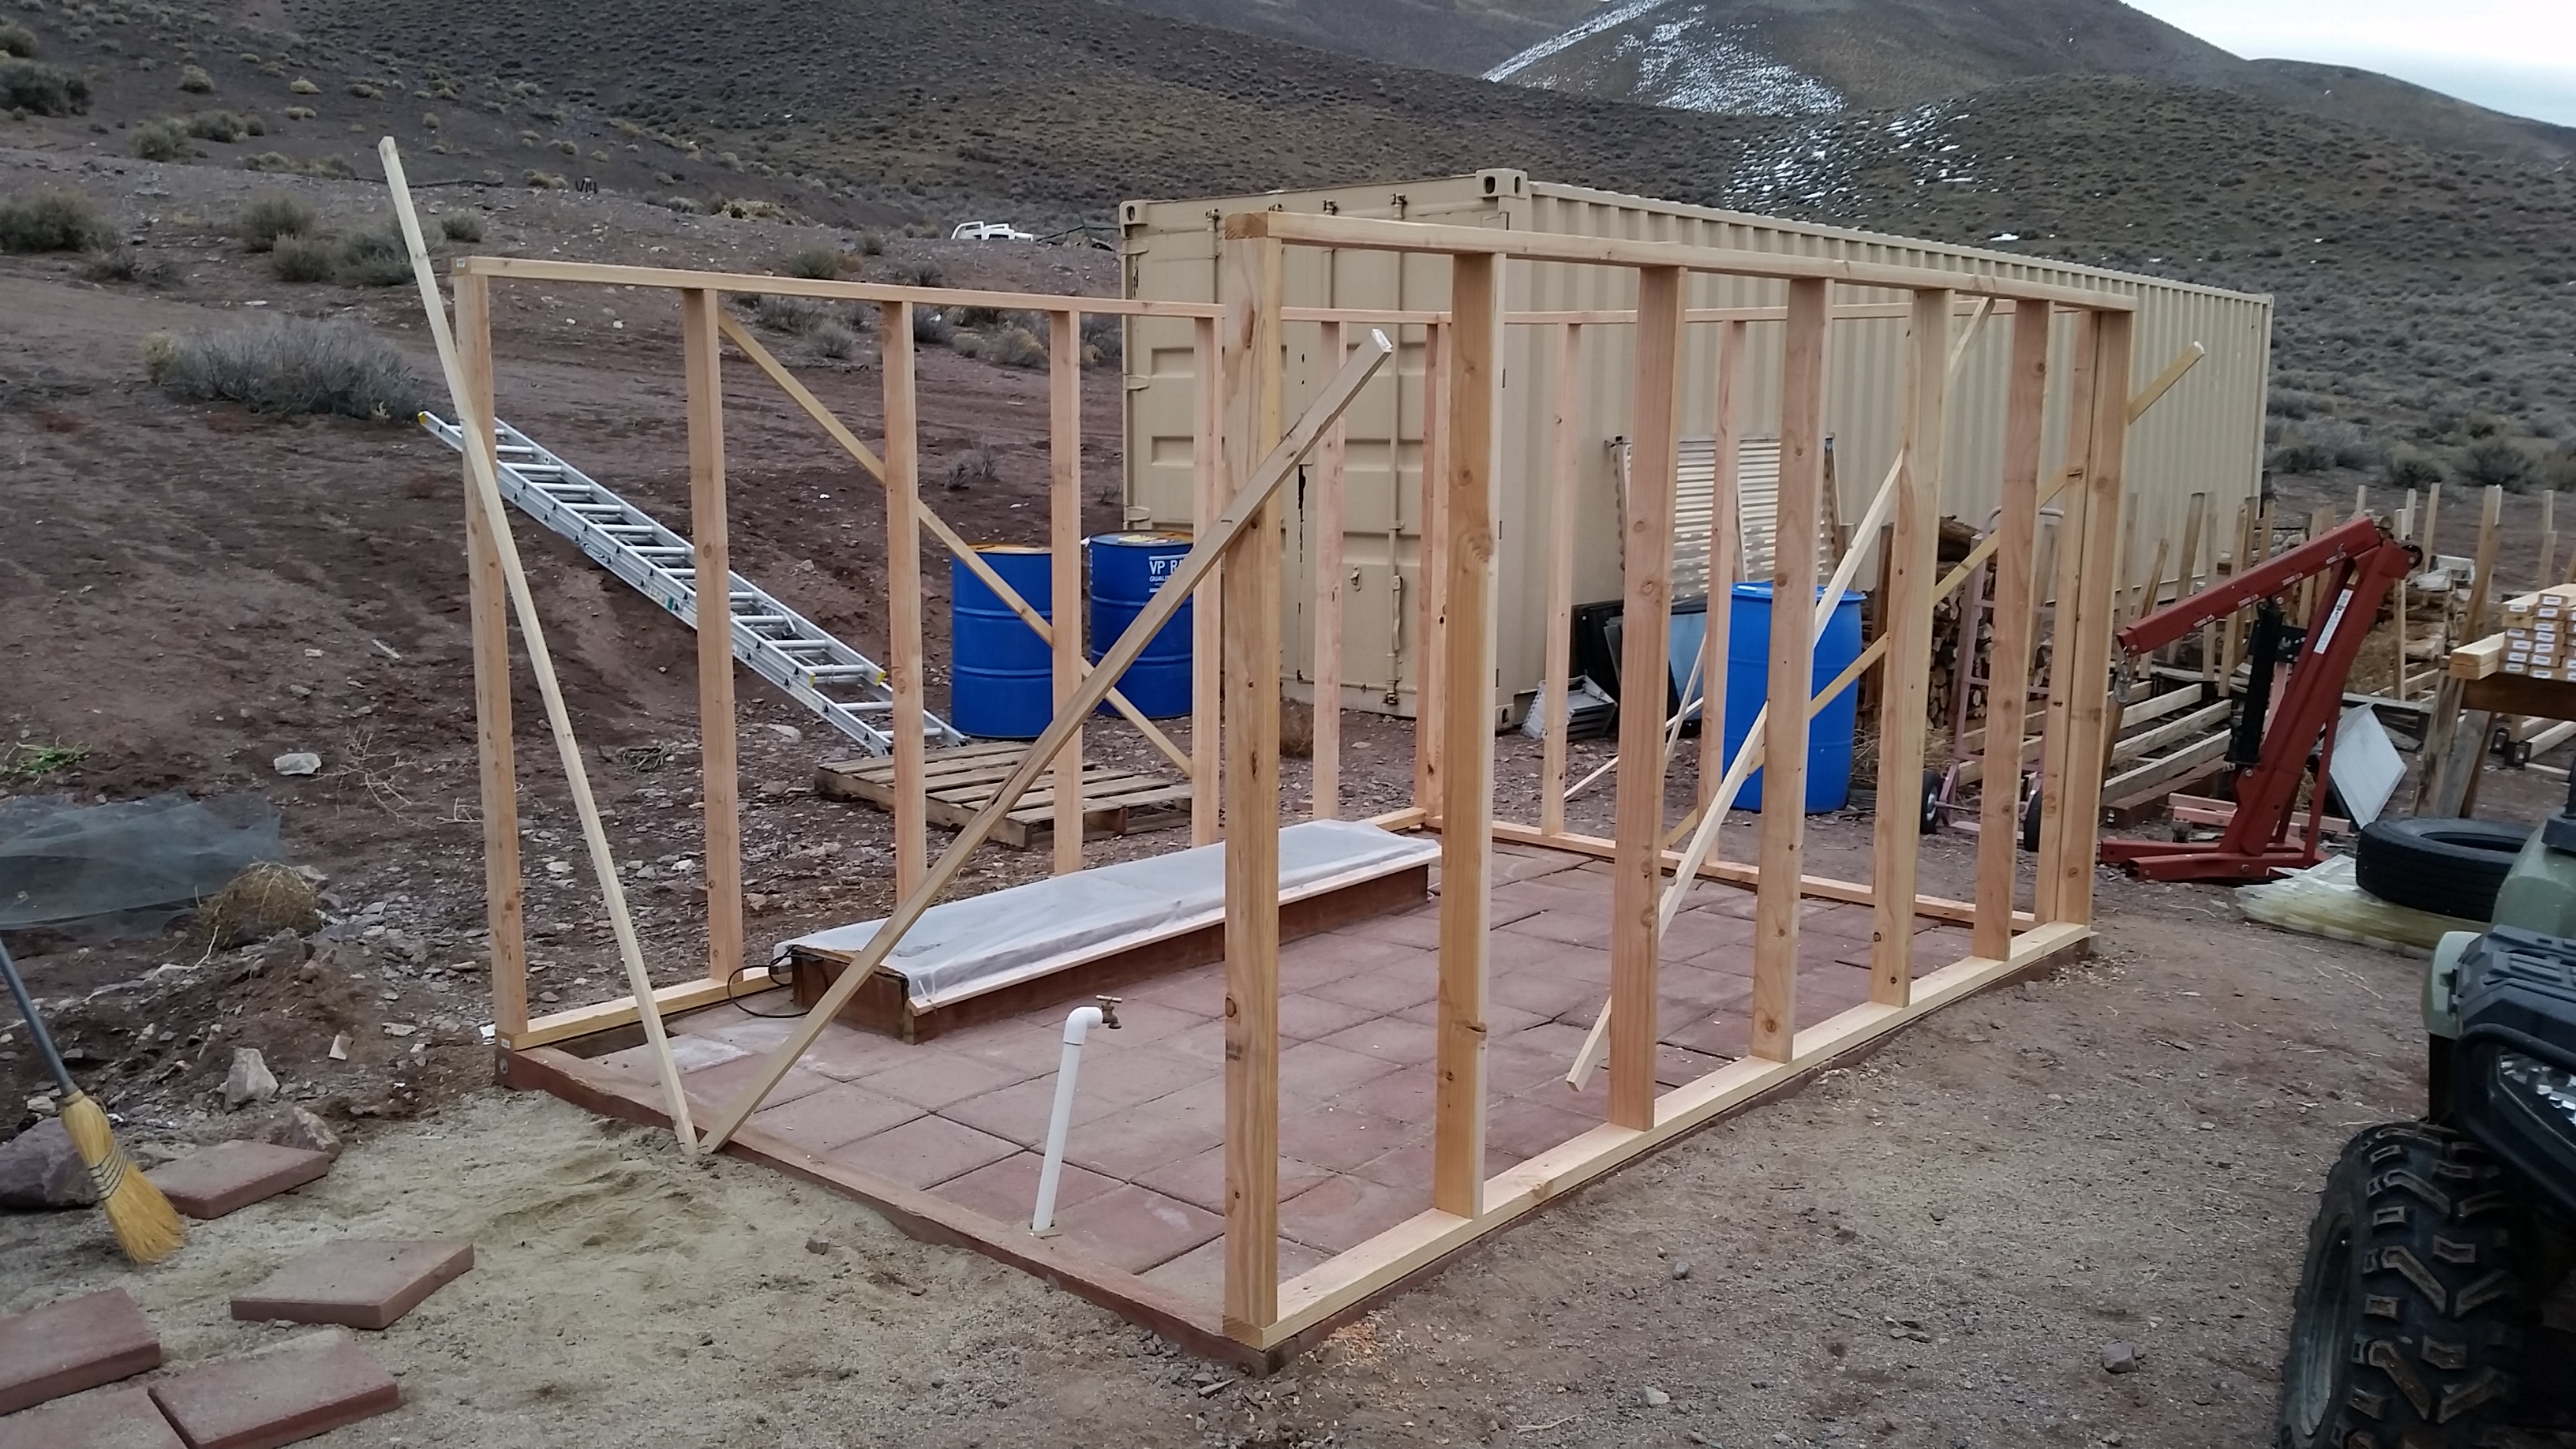
And I made some progress on the replacement. Got three walls framed in. Tomorrow I’m hoping to get the rest of it framed up and maybe get the panels on the walls in place.
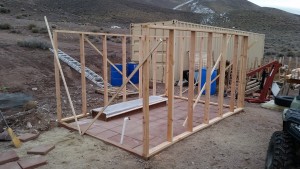
The nice thing is I was able to take advantage of all the prep work I had previously done and reuse the same base and footprint. The 4×4 foundation is anchored into the ground with concrete piers and with the 2×4 construction should prove to be pretty sturdy.
More posts to come as I continue on with the project.
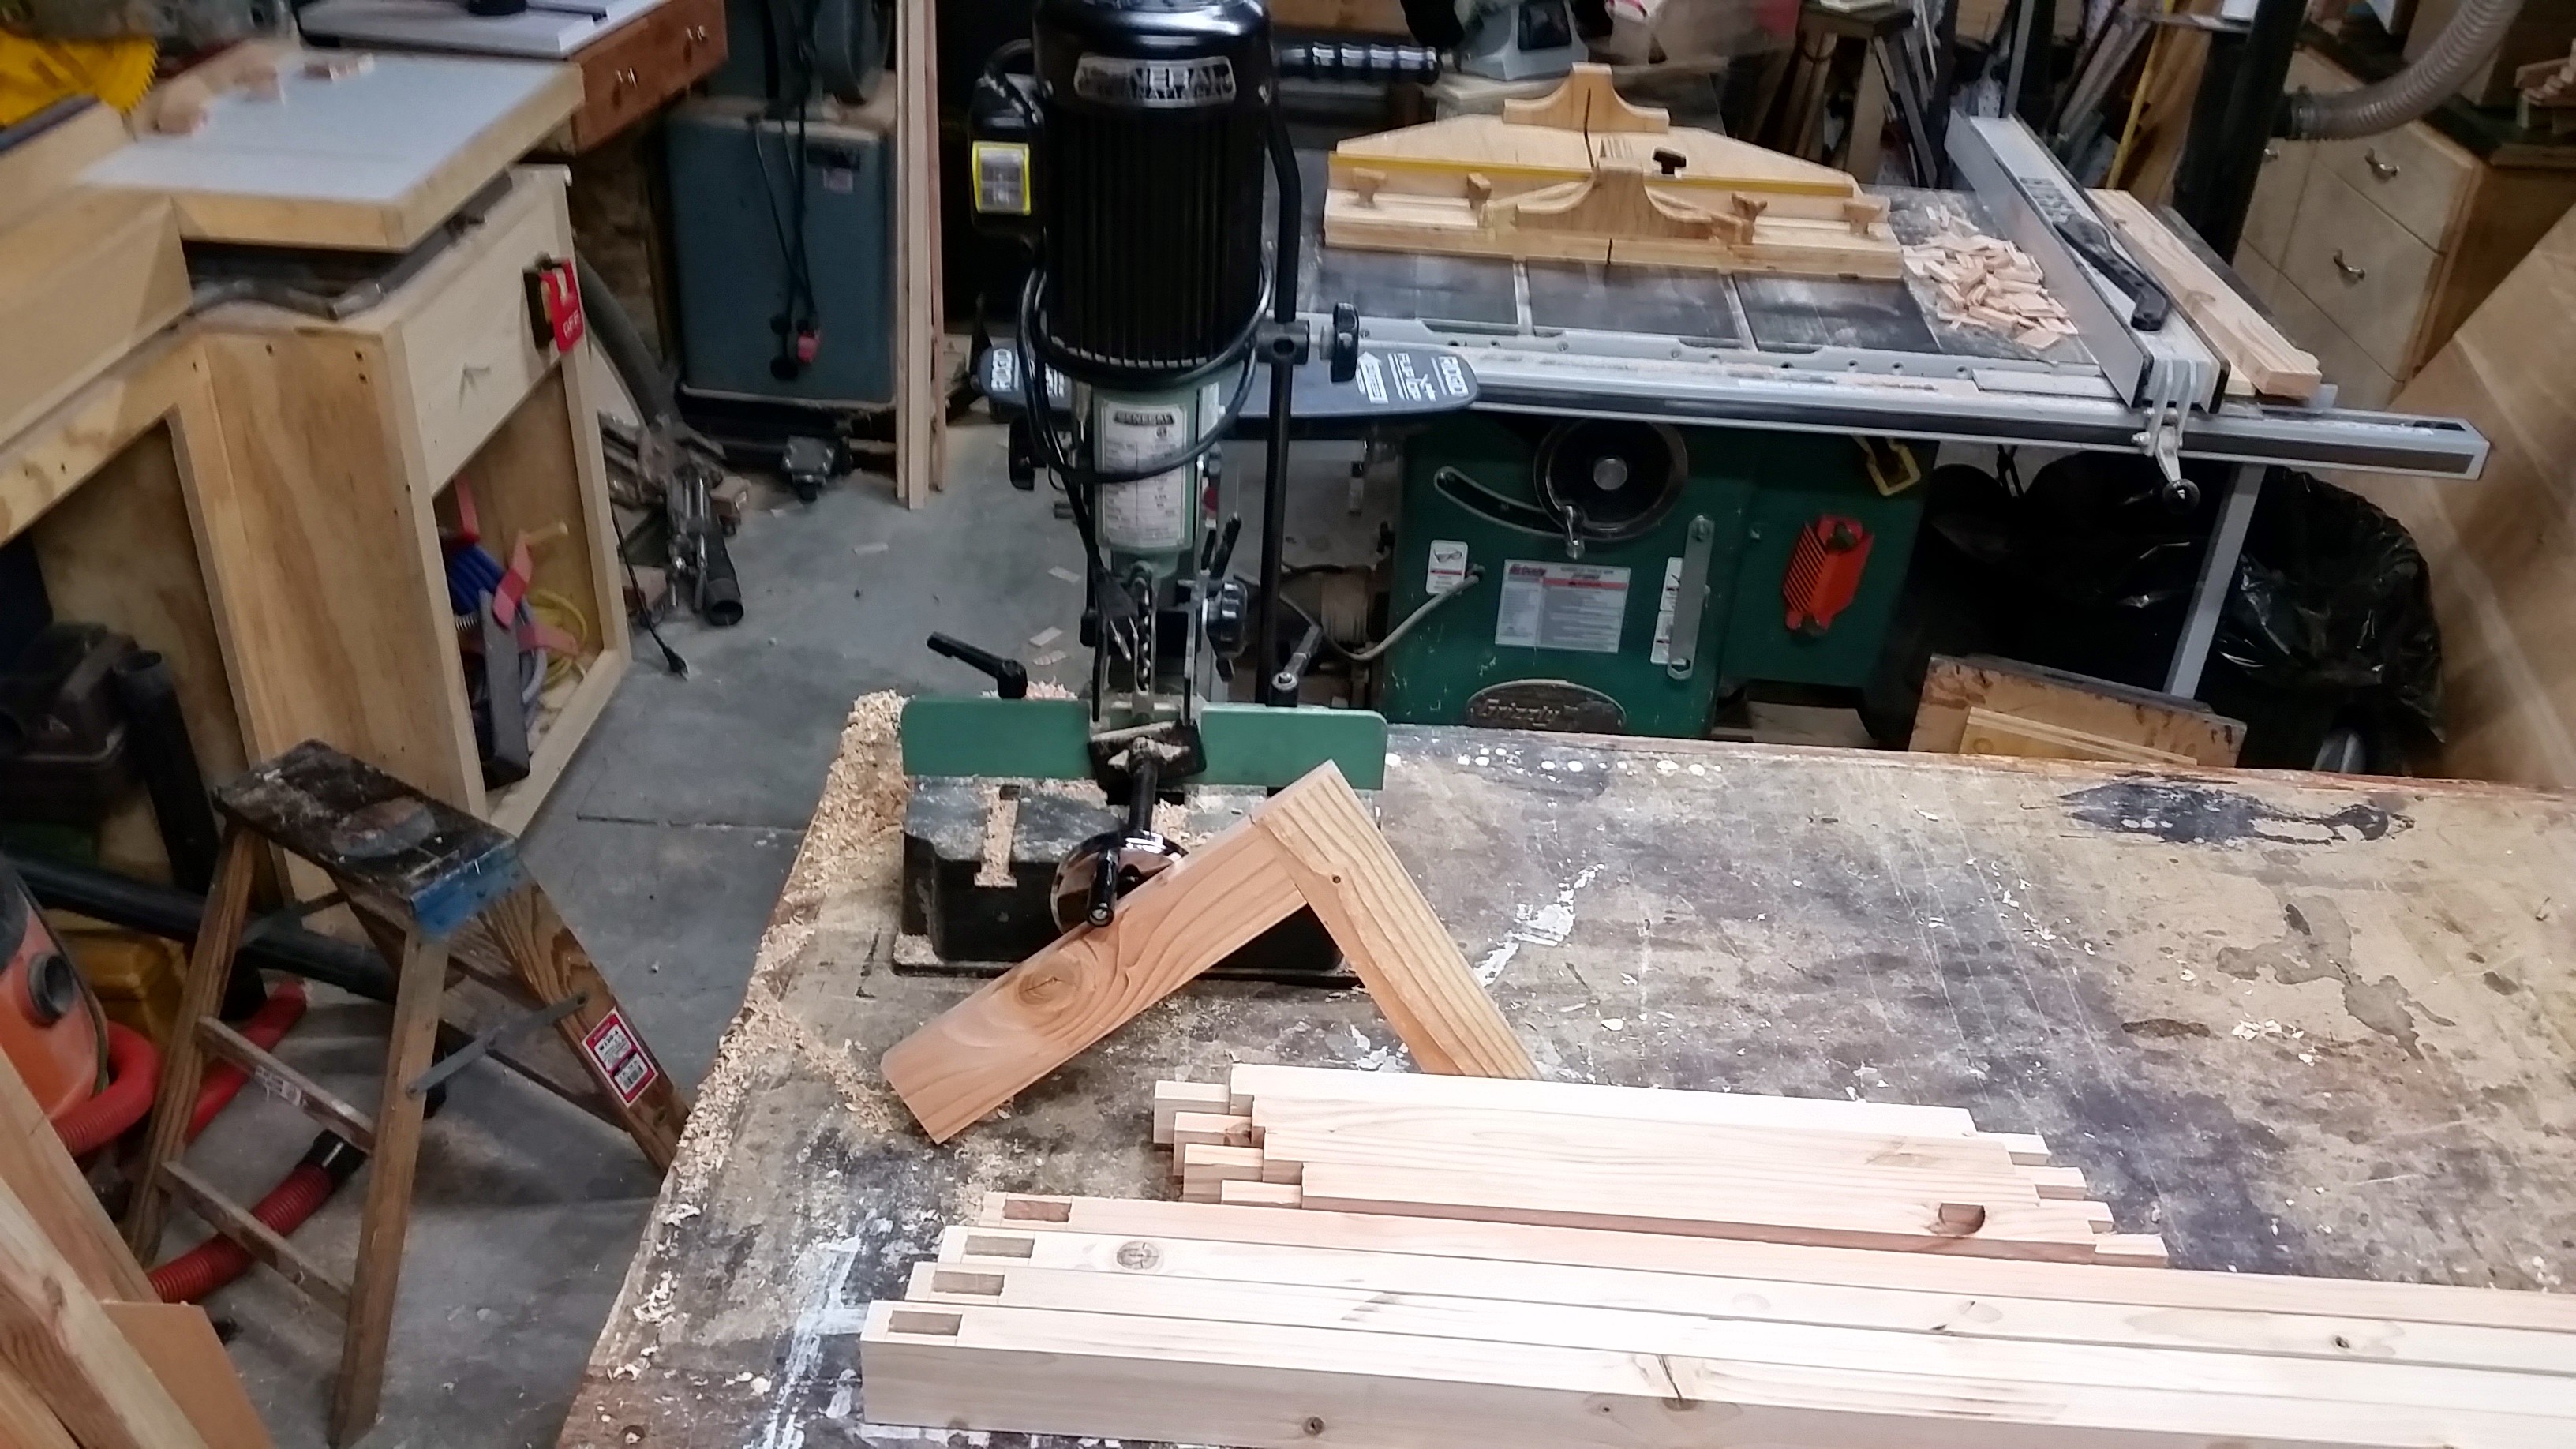

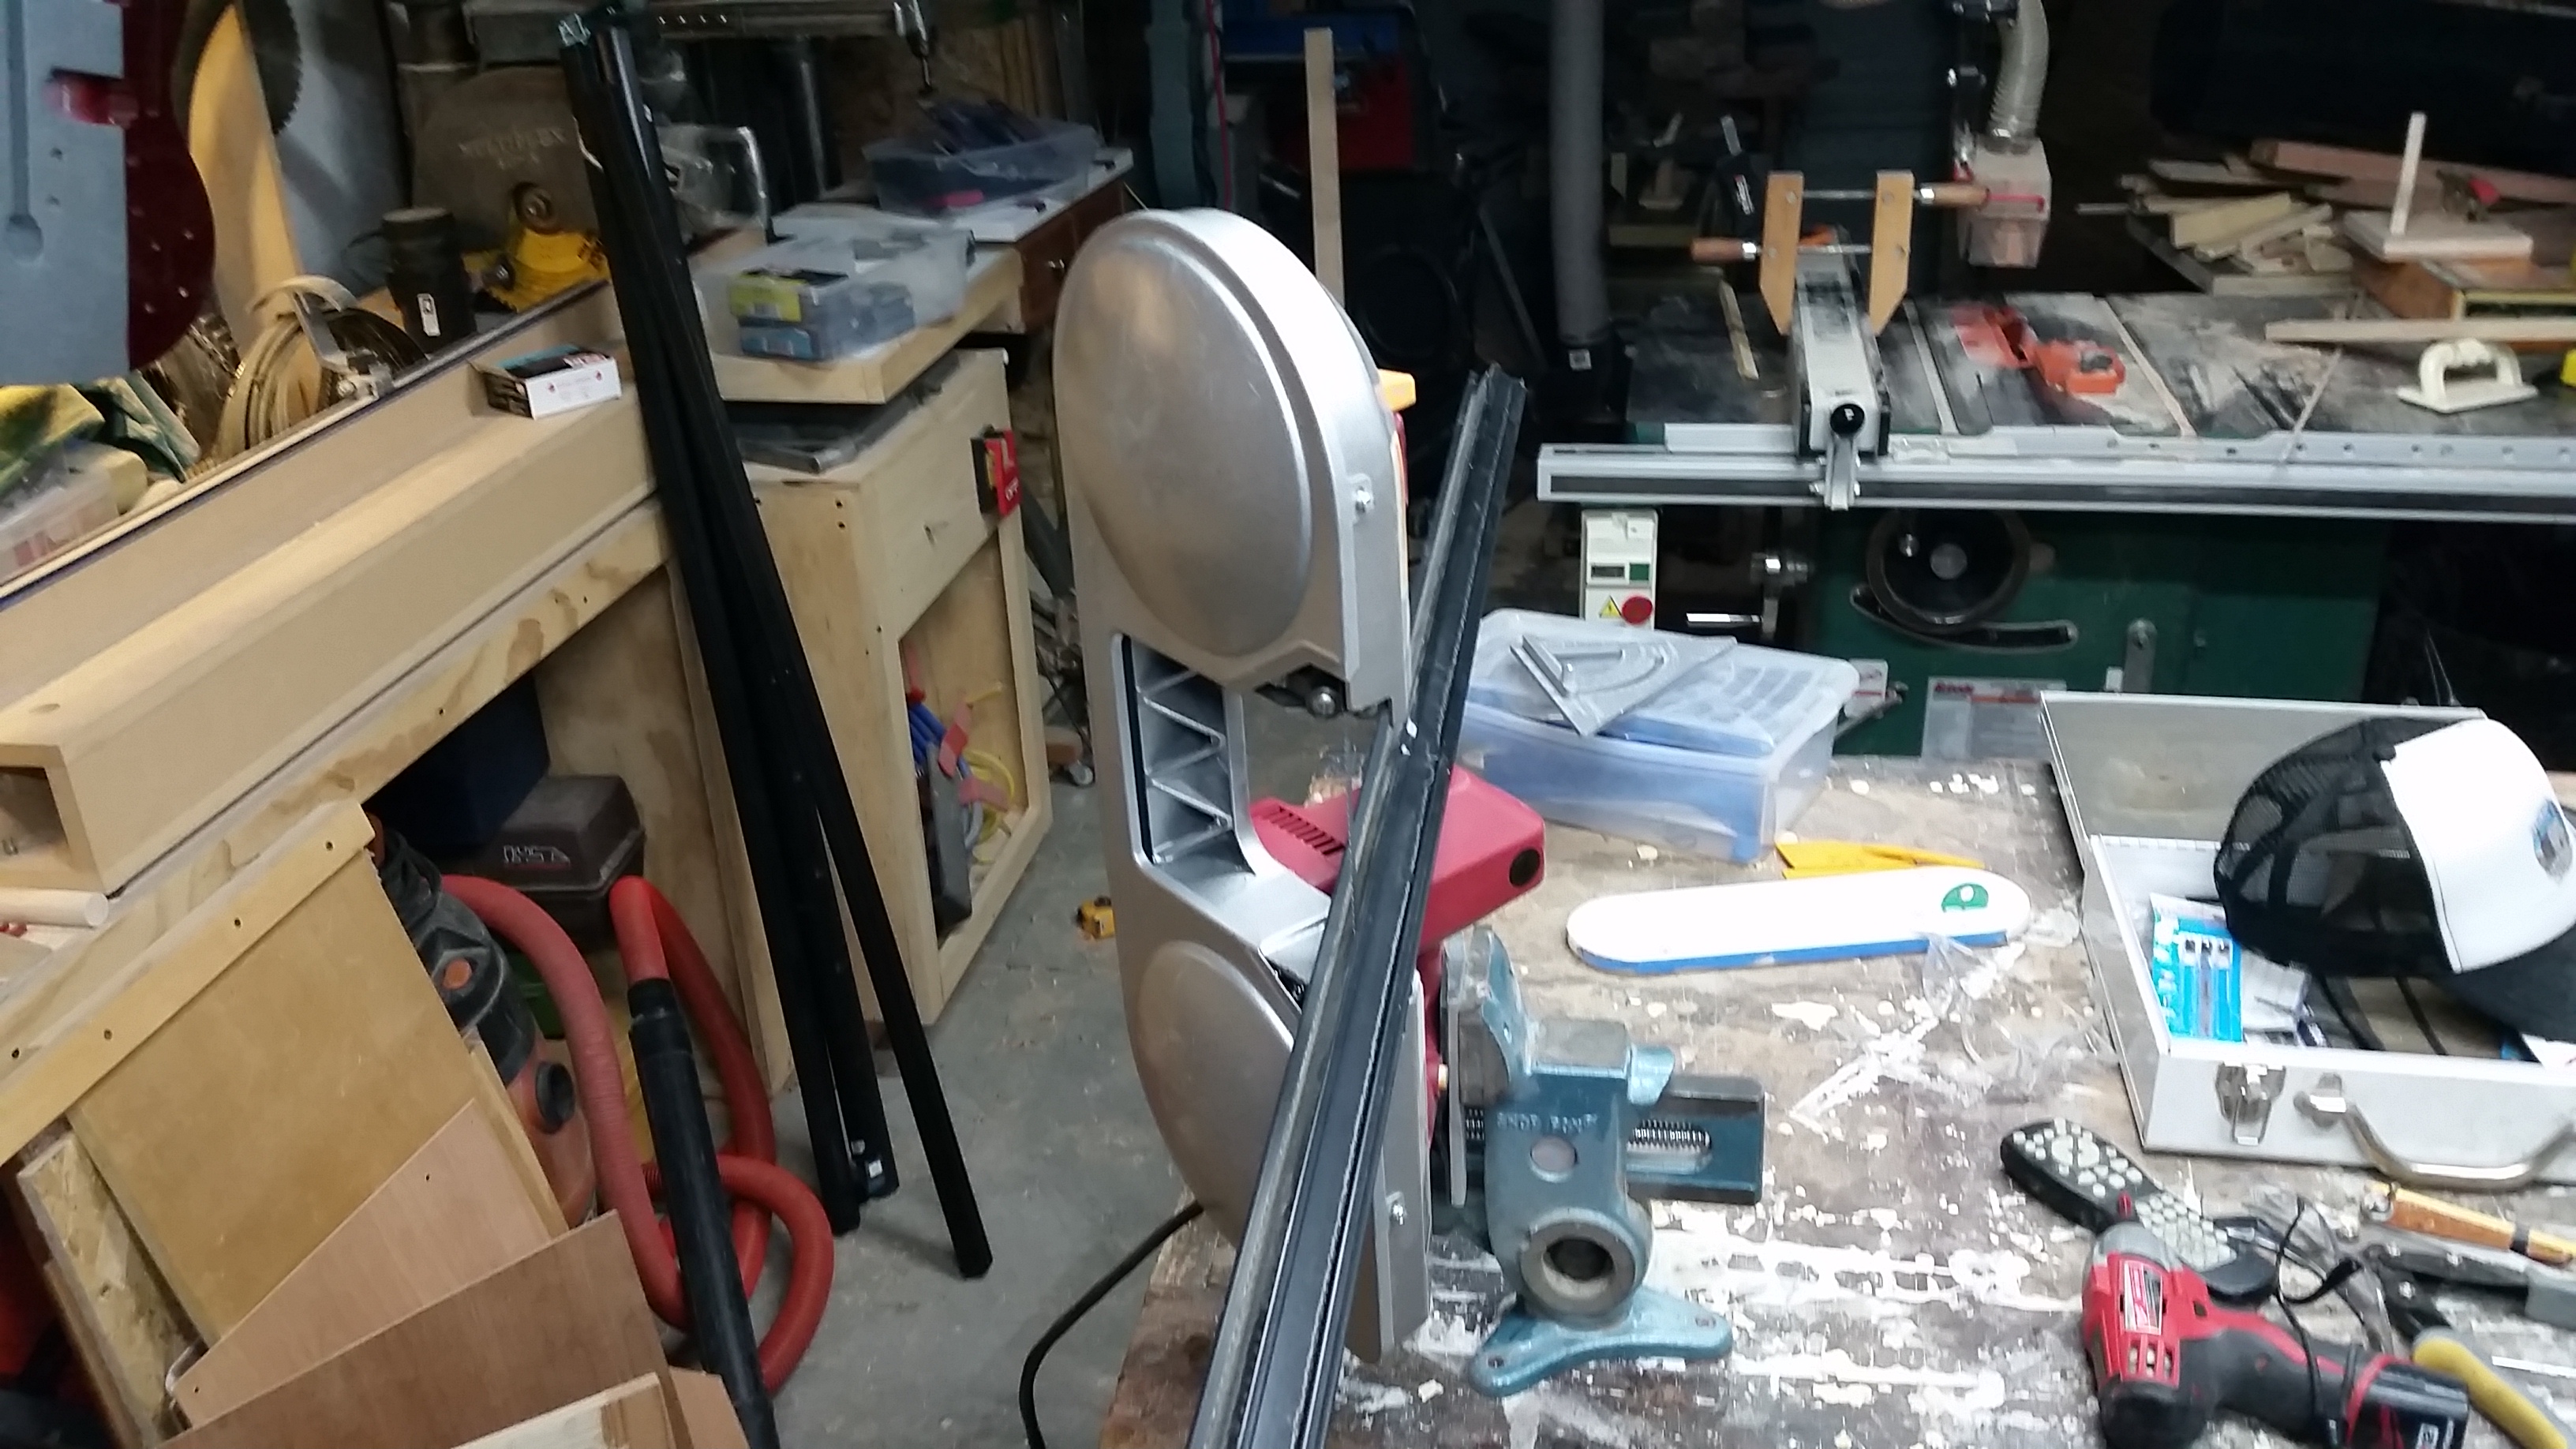
 Probably lots of ways I could have done it. The table saw just didn’t feel right, as there’s really no good way safely move the material through the blade.