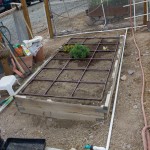
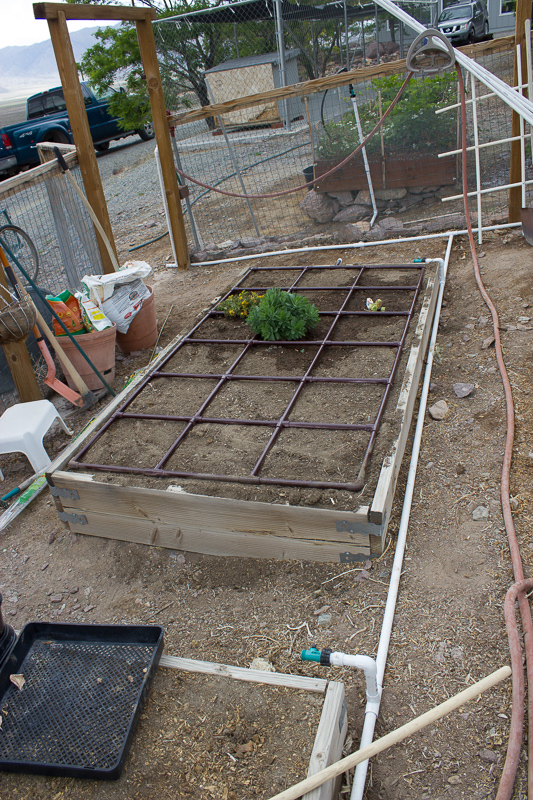
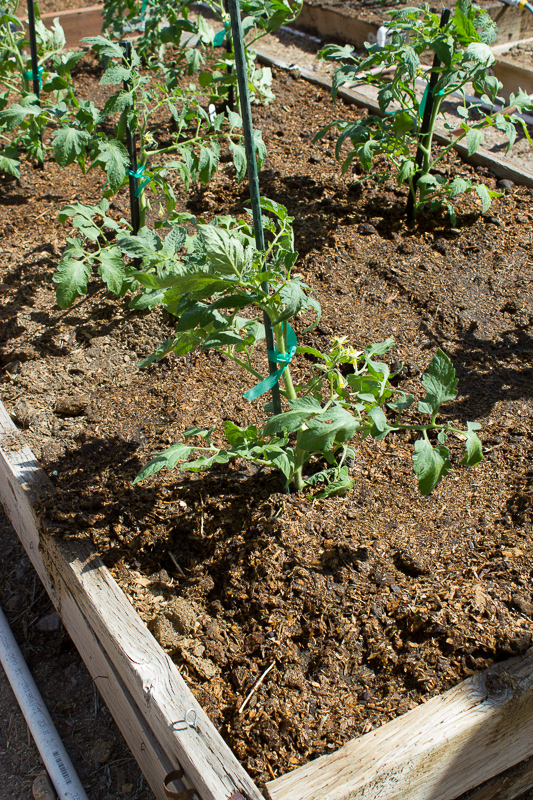
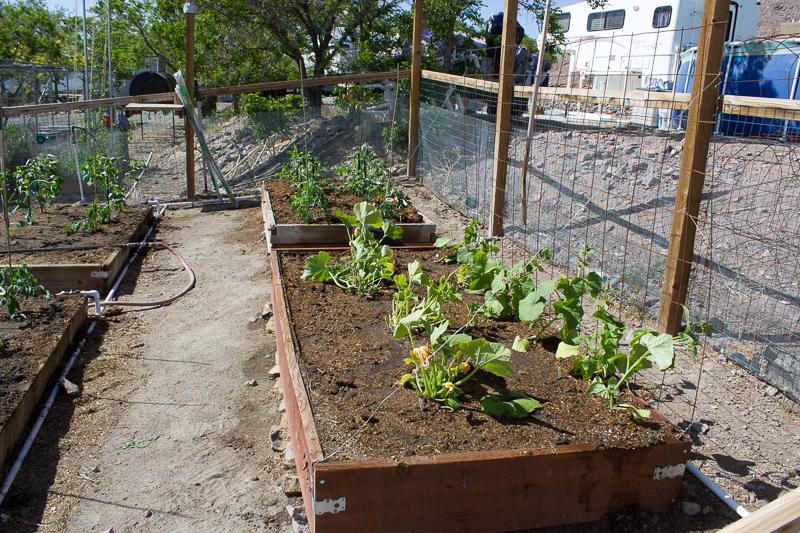
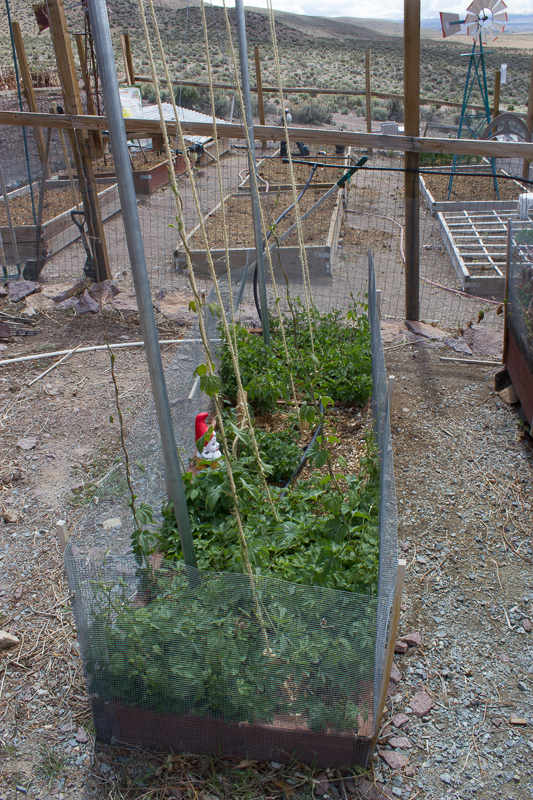
So, The whole square foot gardening method is very popular. I really like the idea of it and gave it a shot last year. For whatever reason, We just found the 12″ squares were a little small for our liking. So we made ours just a little bit bigger, and that’s why it’s called 1.5′ Squared gardening, or 2.25 square.
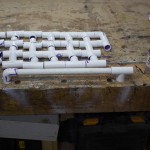
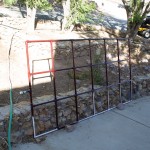
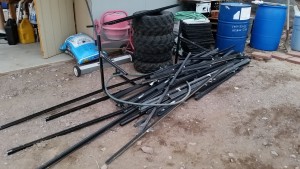
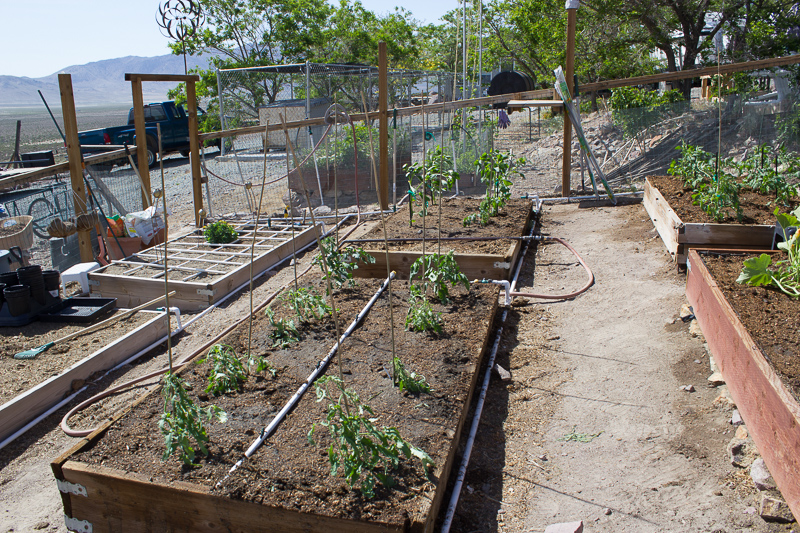
Anyhow, putting in drip irrigation in these things can be a little challenging, so I thought, why not make the grids do the watering? So I’ve made some out of PVC tubing and fittings and drilled 1/16″ holes in the tubes. to let the water out.
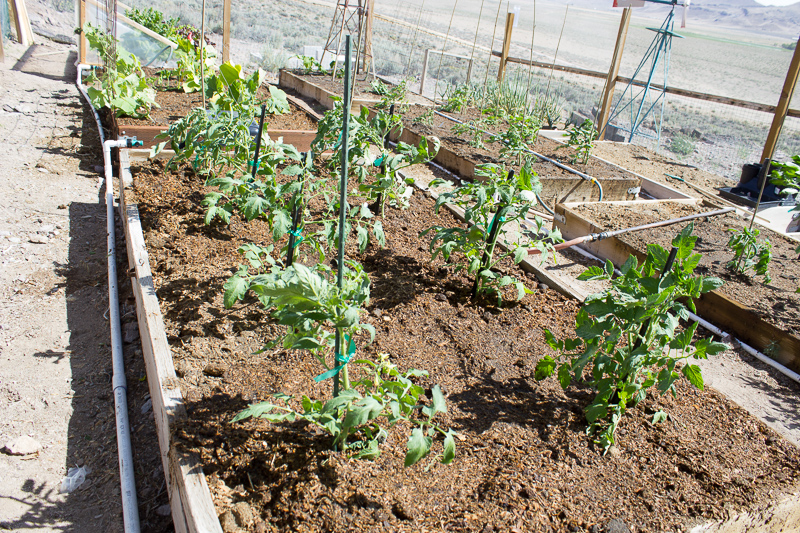
I’m no hydraulic engineer, but it works pretty good. With the water running full blast, all the holes have just enough pressure to squirt out a few inches, but not under so much pressure to be damaging. A minute or two of running does a great job of evenly watering the whole bed right at ground level.
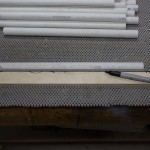
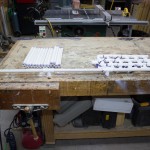
Step 1: Cut the tubes
Cut out 45 sections of 1/2″ PVC tube 14″ long. Why 14″? Well It worked out just right in my 4’x8′ raised beds with a little extra room.
Step 2: Mark a Guide Line
Mark a straight line on each of the cut pieces. We will be using this as a guide when we drill the holes to make sure they are all lined up right.
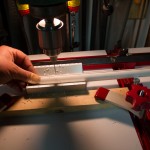
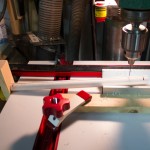
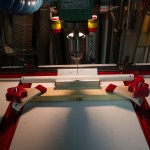
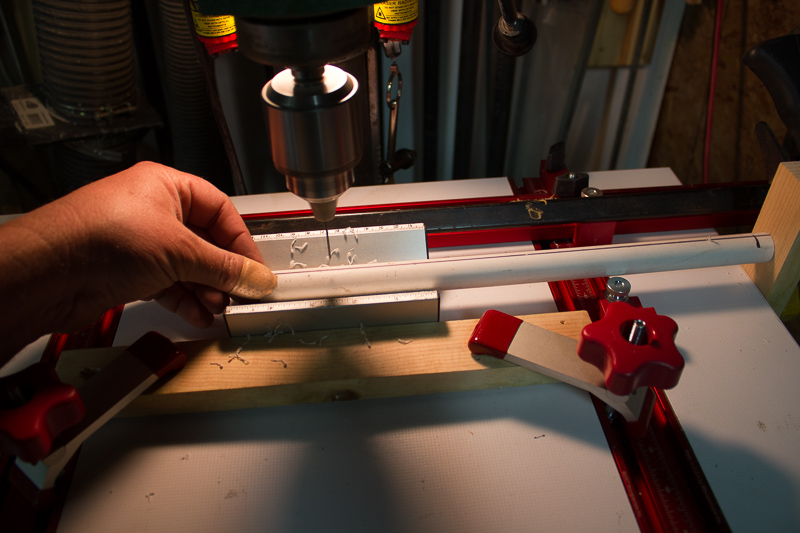
Step 3: Drill baby Drill!
Time to drill some holes. Here’s where it gets tricky, 18 of these will get holes on only one side, 27 will get holes drilled all the way through. I made a mark on 18 of them to let me know they should only get drilled on on side.
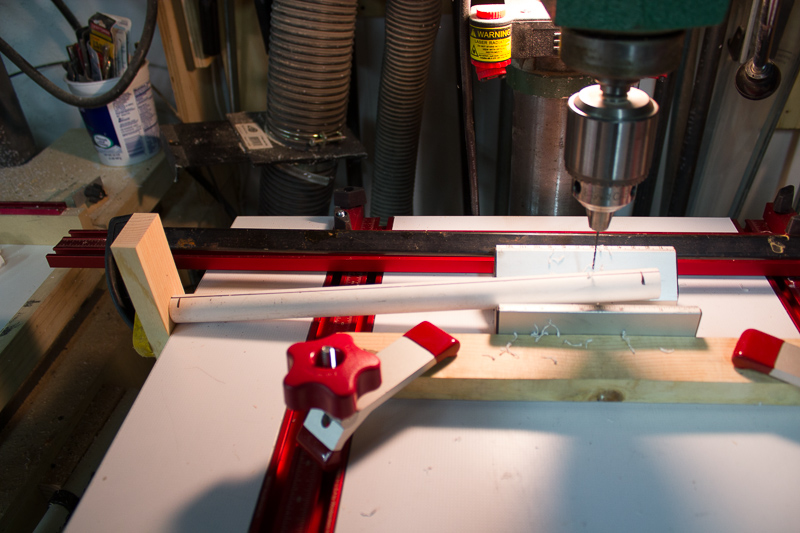
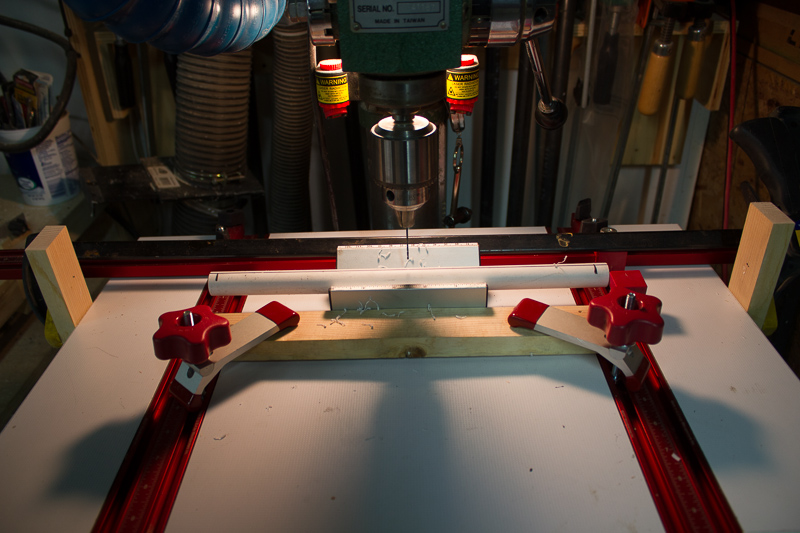
I used a v-block on my drill press to make sure that I drilled right in the center of the tubes,
So, Go ahead and drill the holes 1/2 through on 18, and all the way through on the remaining 27. Make sure you keep them separate!
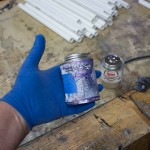
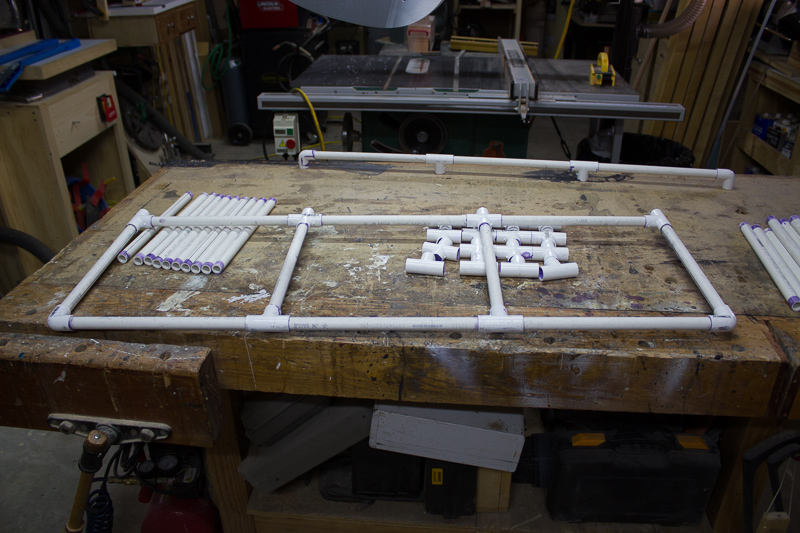
Step 4: Get your parts together
You’ll need 4 1/2″ pvc 90’s, 10 1/2″ pvc crosses, 1 1/2″ slip fit pvc Tees, and 1 1/2″ Tee with a fip fitting on the tee, and slip on the sides.
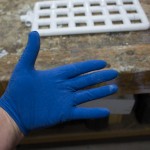
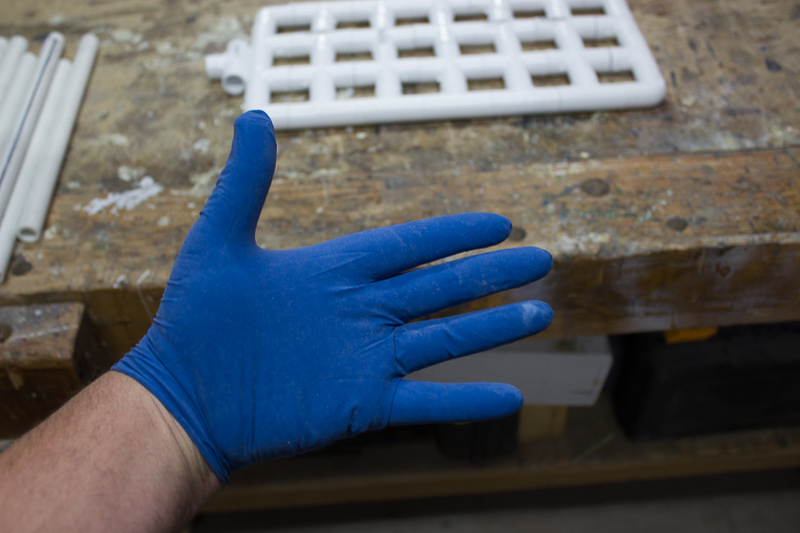
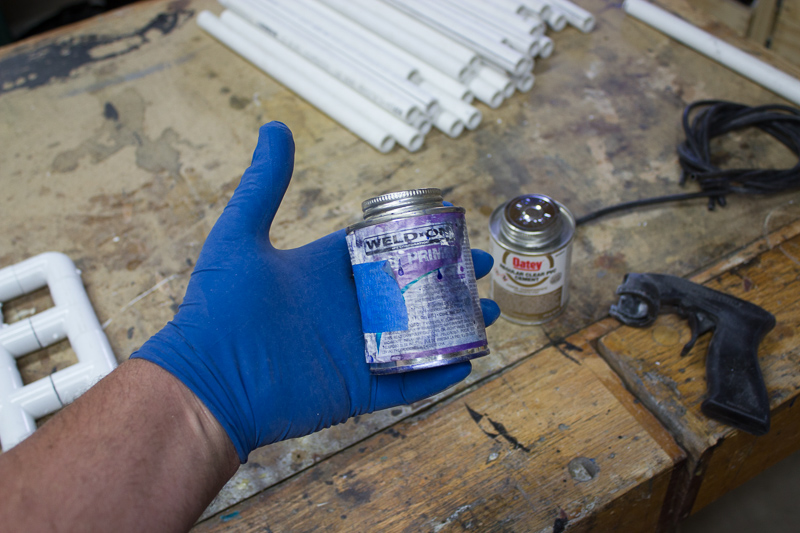
You’ll definitely want to have gloves on when working with PVC Primer and Cement. It’s messy stuff, so make sure to do it somewhere you can get messy.
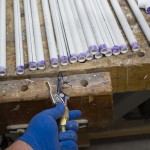
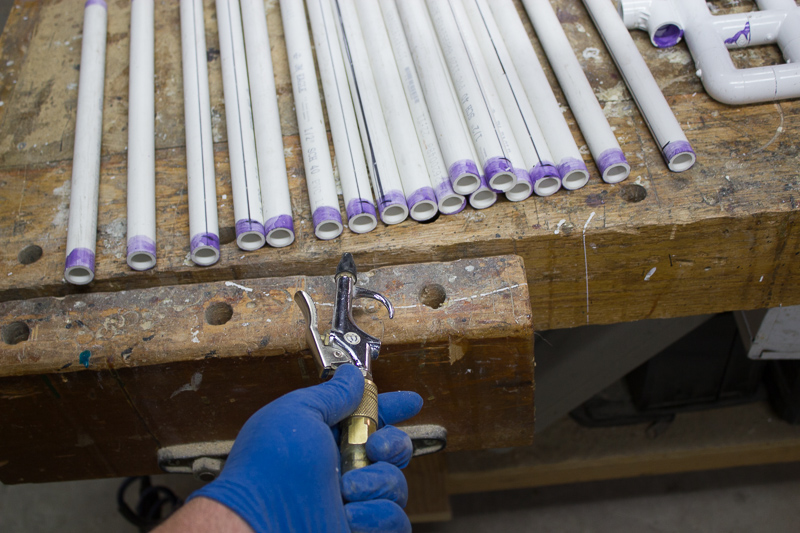
Go ahead and prime all your tube pieces and connectors.
It doesn’t hurt to give everthing a blast with the air hose to get any little bits of plastic that could clog your holes.

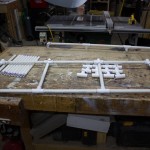
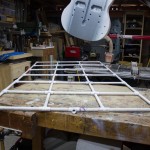
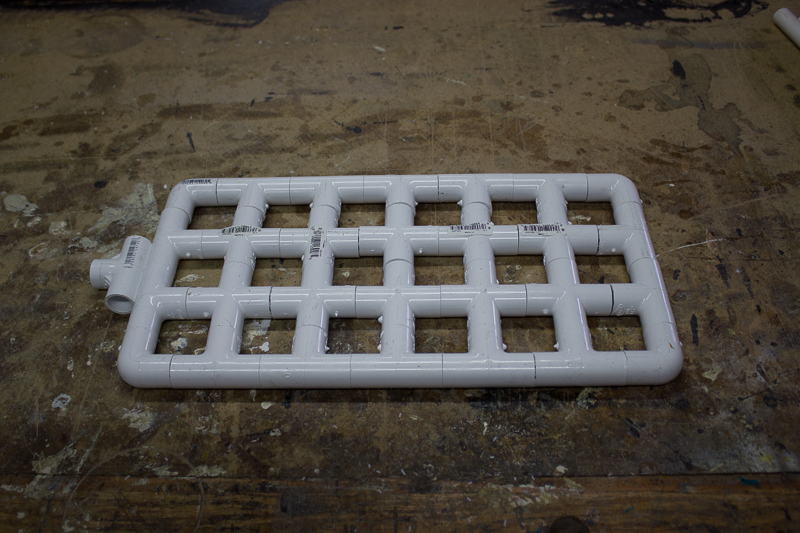
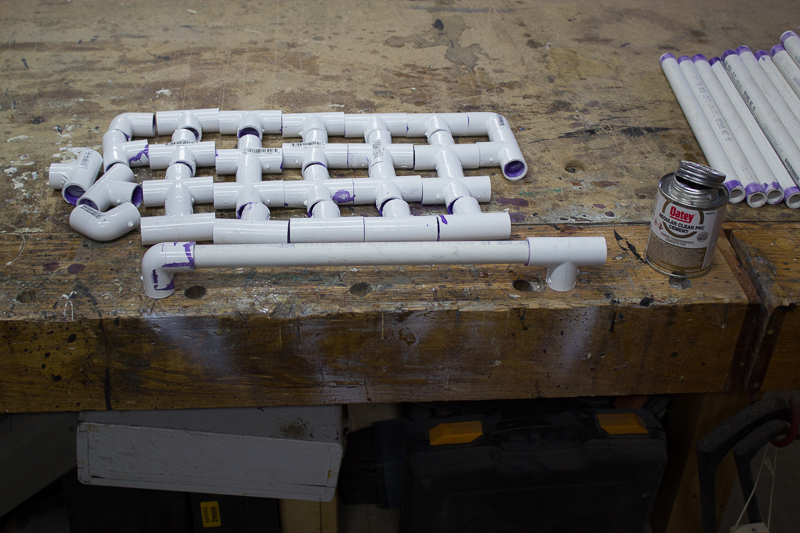
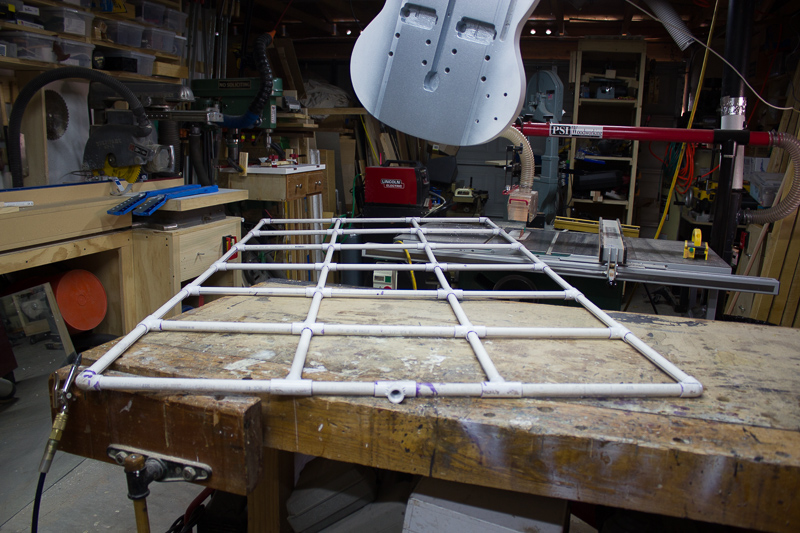
Step 5: Glue it up.
There’s no way to get around it. This is tedious, and you need to make sure you get it right. PVC glue is unforgiving after it sets. Make sure to put plenty of glue on both sides of the piece to make sure you have time to twist the tubes so the holes line up the right way.
Also make sure that you put the parts together right. The pieces with the holes on only one side go around the outside with the holes pointing in..
One tip is to use a flat surface when starting to make sure you get the fittings lined up parallel to each other.
I don’t have any other tips other than take your time, think about what type of tube goes where and make sure you get the holes pointing the right way.
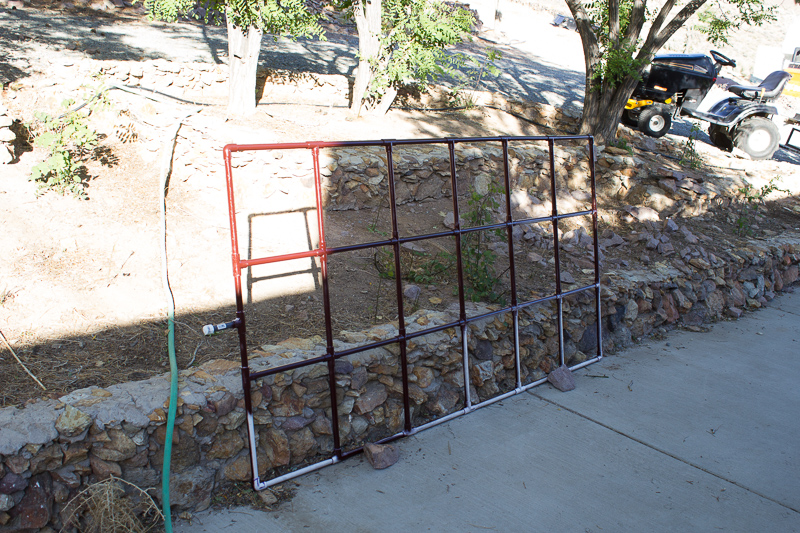
Step 6: Protect it!
I like to put a coat of brown spray paint on it to protect the pvc from the sun and to make it blend in to the garden a bit better.
And that’s about it.
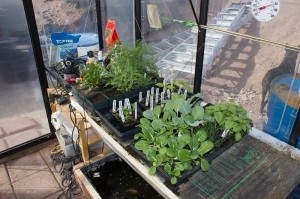
If you made it this far, here’s a little video showing how it works. Please ignore the artichokes, they were badly mistreated by me and should have been in the ground a while ago.

 Probably lots of ways I could have done it. The table saw just didn’t feel right, as there’s really no good way safely move the material through the blade.
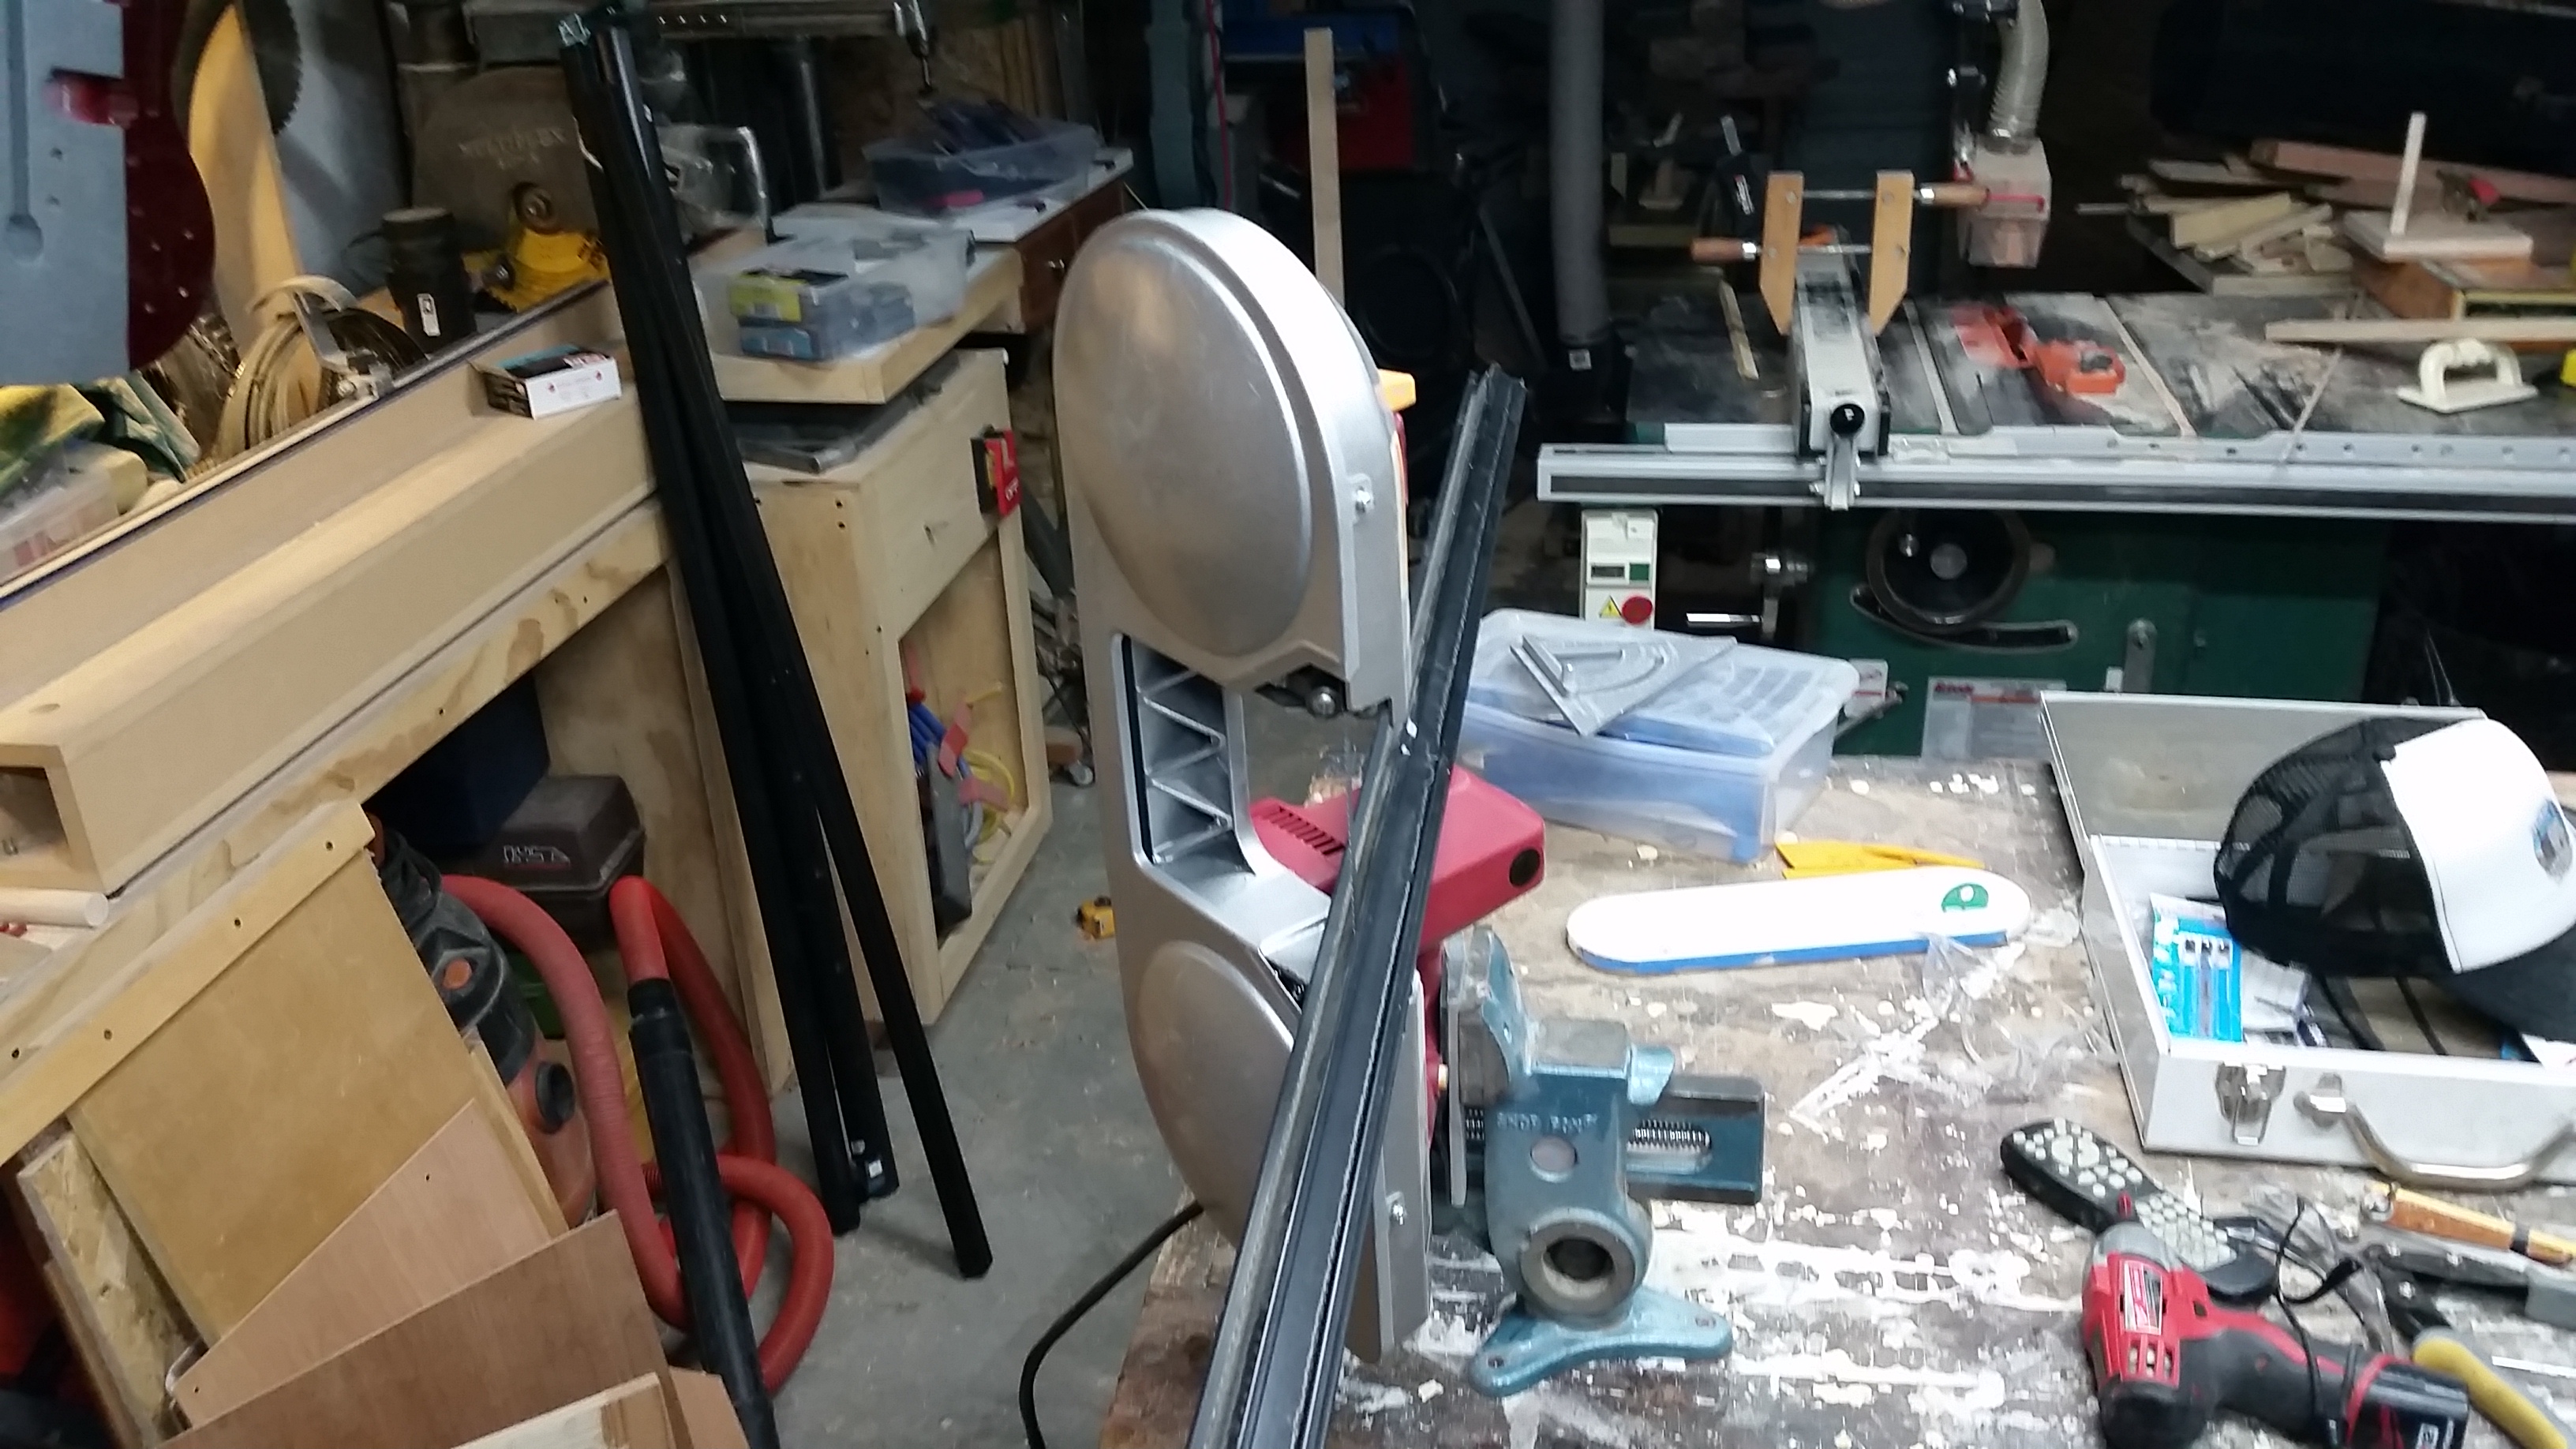


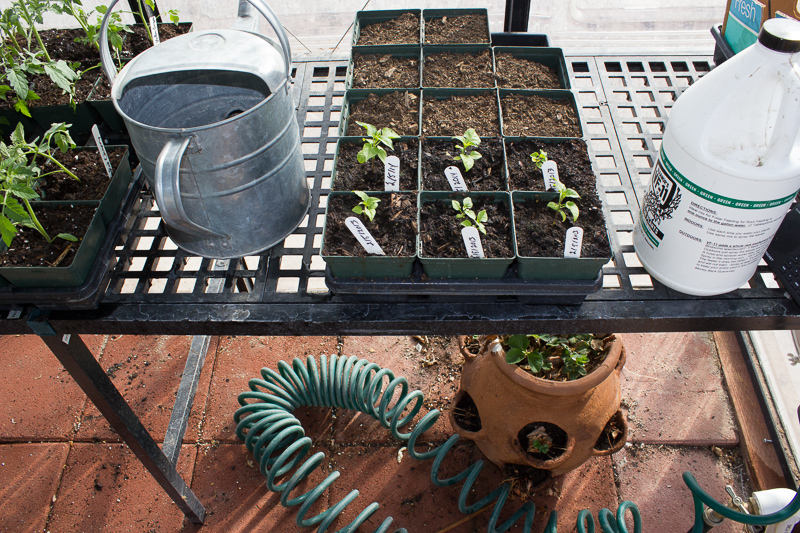
 Herbs.